


Chrysler 300C CRD 2007 'pink thingy' replacement
READ UPDATE: November 2020
I decided to set up this web page for anyone looking to replace the broken 'pink thingy' on a 2007 Chrysler 300c, living in the UK or anywhere else with a RHD vehicle. This is a 300C CRD 3.0 Diesel LX model (the one with the sunroof).
These instructions may well work on other models and are only intended as an addition to the videos below.
There are already many web sites and YouTube videos on how to do this, however they are mostly made by our friends across the pond and there seem to be some subtle differences.
I will list some of these differences here:
- most videos I found are from Dodge Charger and Magnum vehicles
- even when it is a Chrysler 300c, our American friends seem to have different models for the same year (the centre console with the radio is almost always different to the UK version)
- they are left hand drive instead of right hand drive
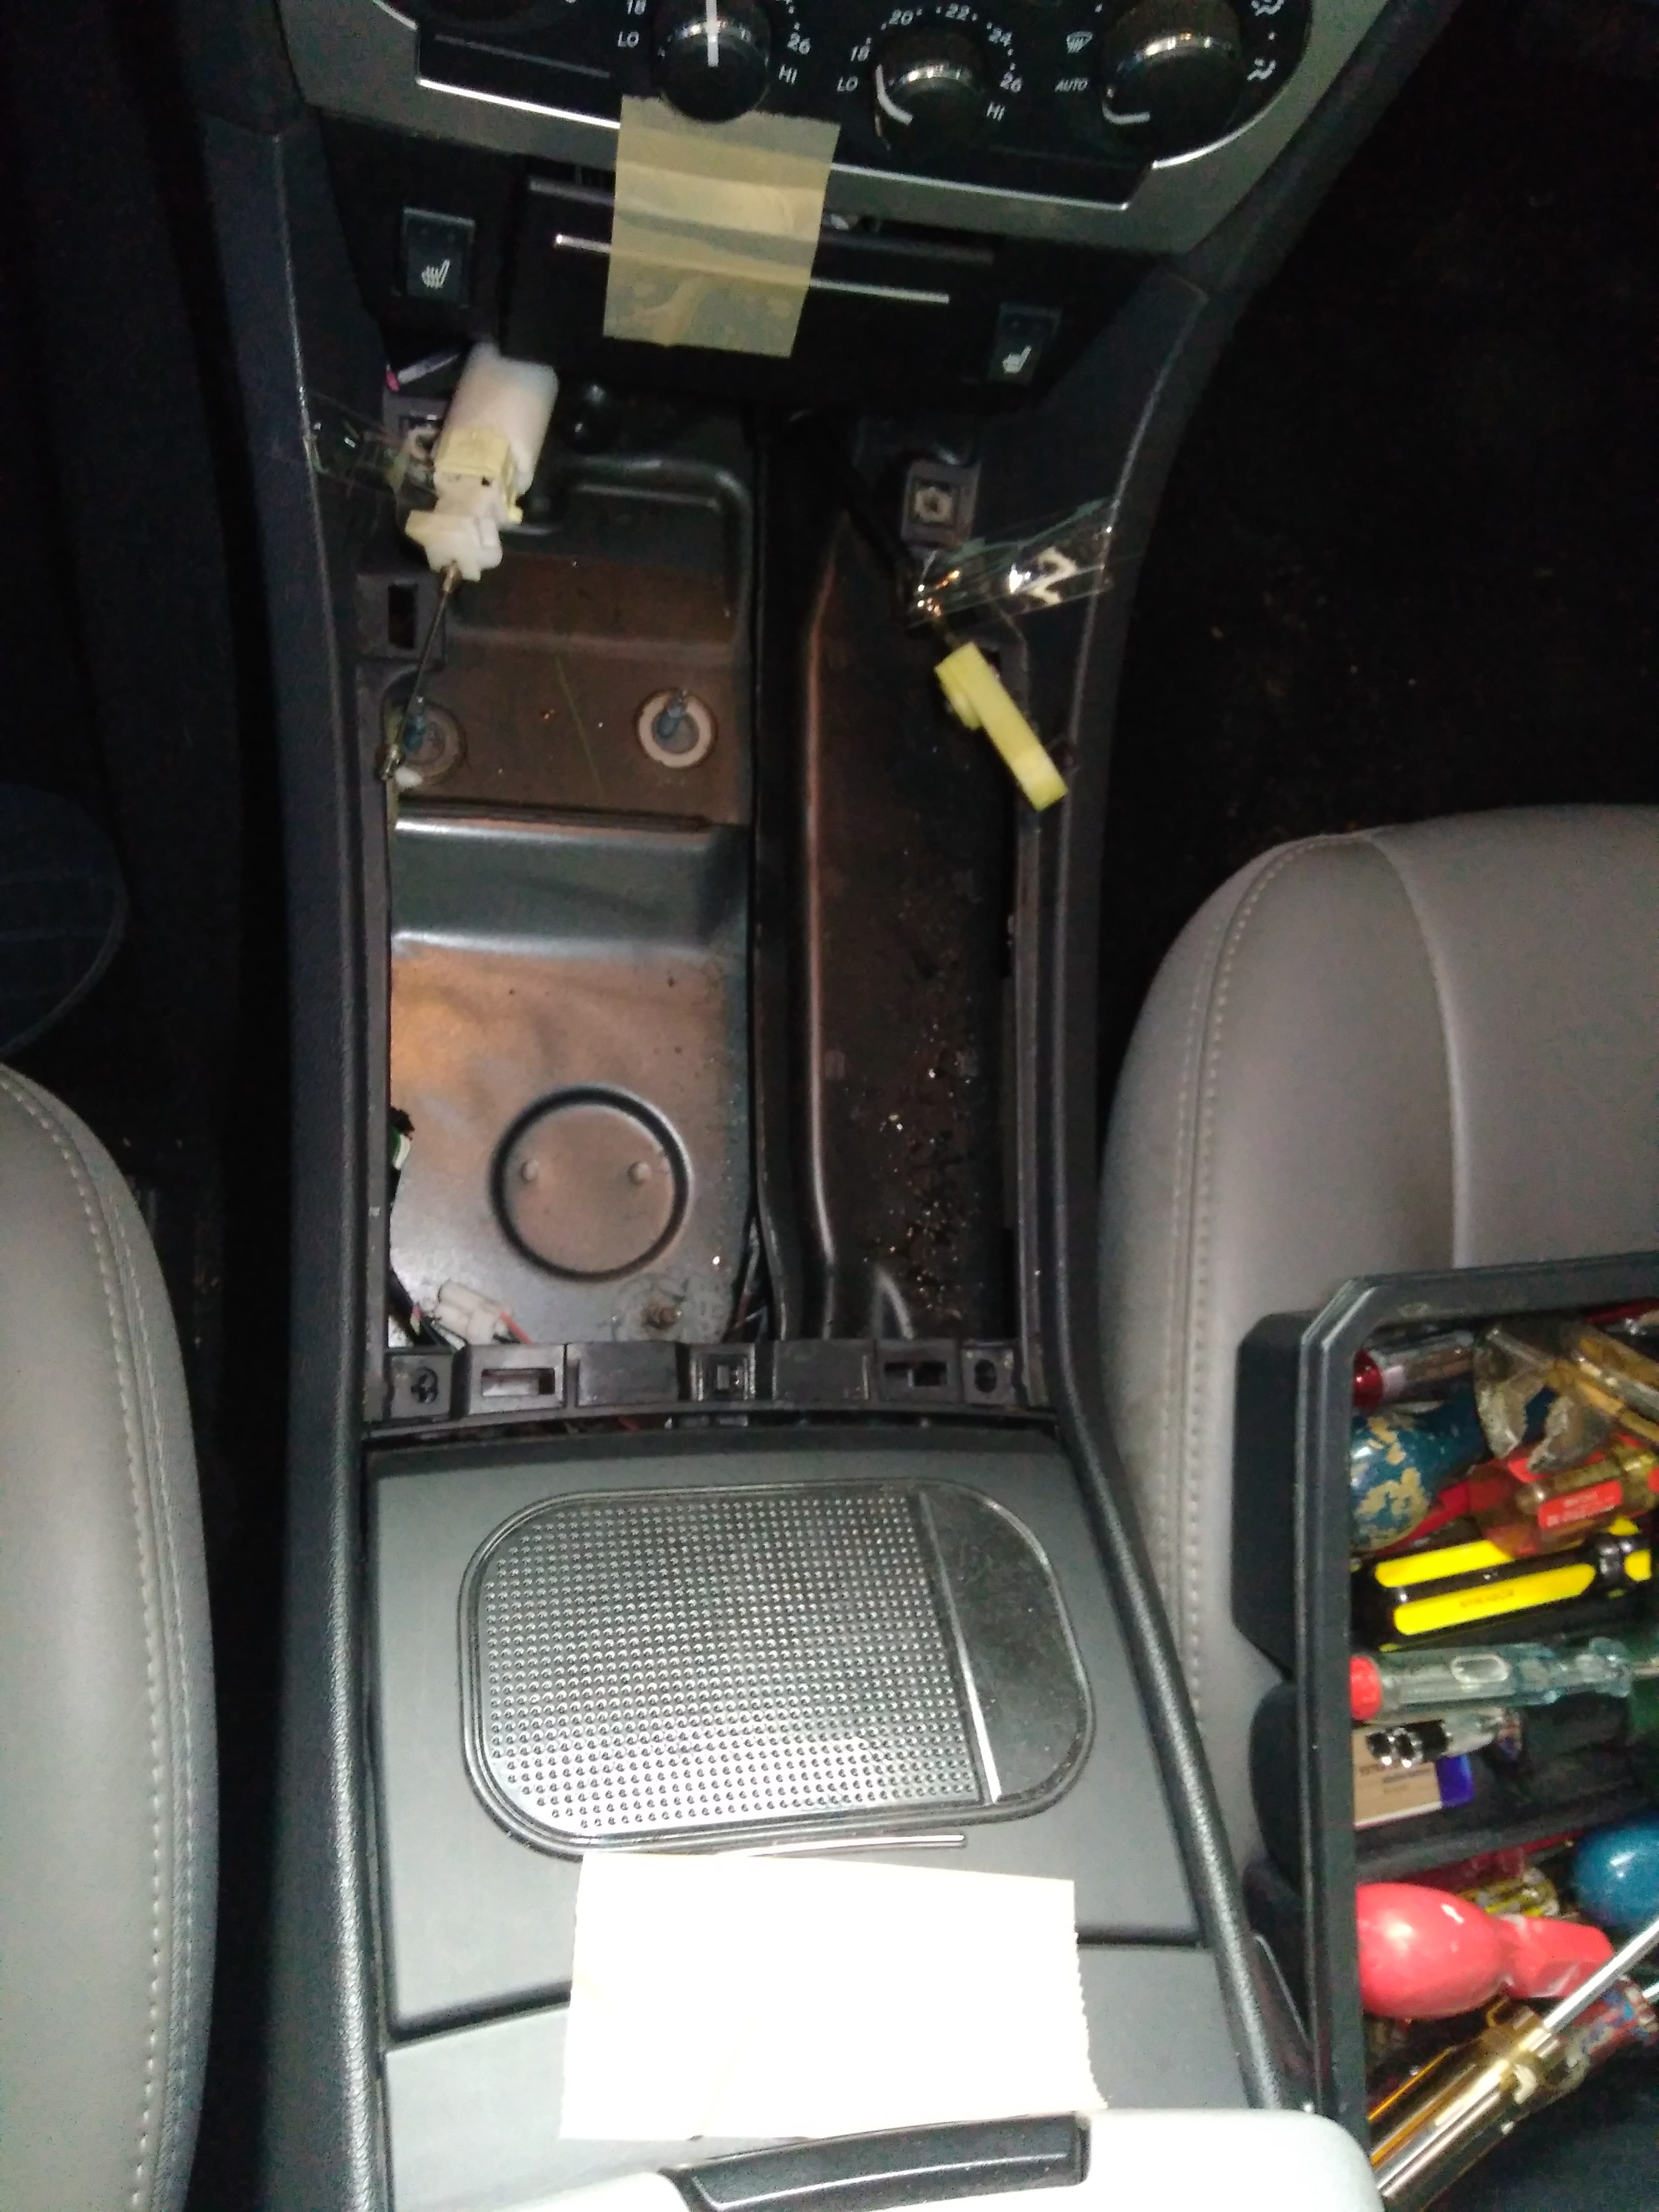
- the gap between the bottom of the ashtray and the cup holder (see picture here) appears to be slightly smaller than in any of the videos I watched. Not by much, maybe only a few millimetres, but enough to make it impossible to take the unit out without additional steps (read on).
I would encourage you to view as many YouTube videos as possible before you start.
Note: Please read the disclaimer
DISCLAIMER:
Please read this disclaimer ("disclaimer") carefully before using this website.
All information posted is merely for educational and informational purposes. It is not intended as a substitute for professional advice. Should you decide to act upon any information on this website, you do so at your own risk.
While the information on this website has been verified to the best of my abilities, I cannot guarantee that there are no errors or omissions.
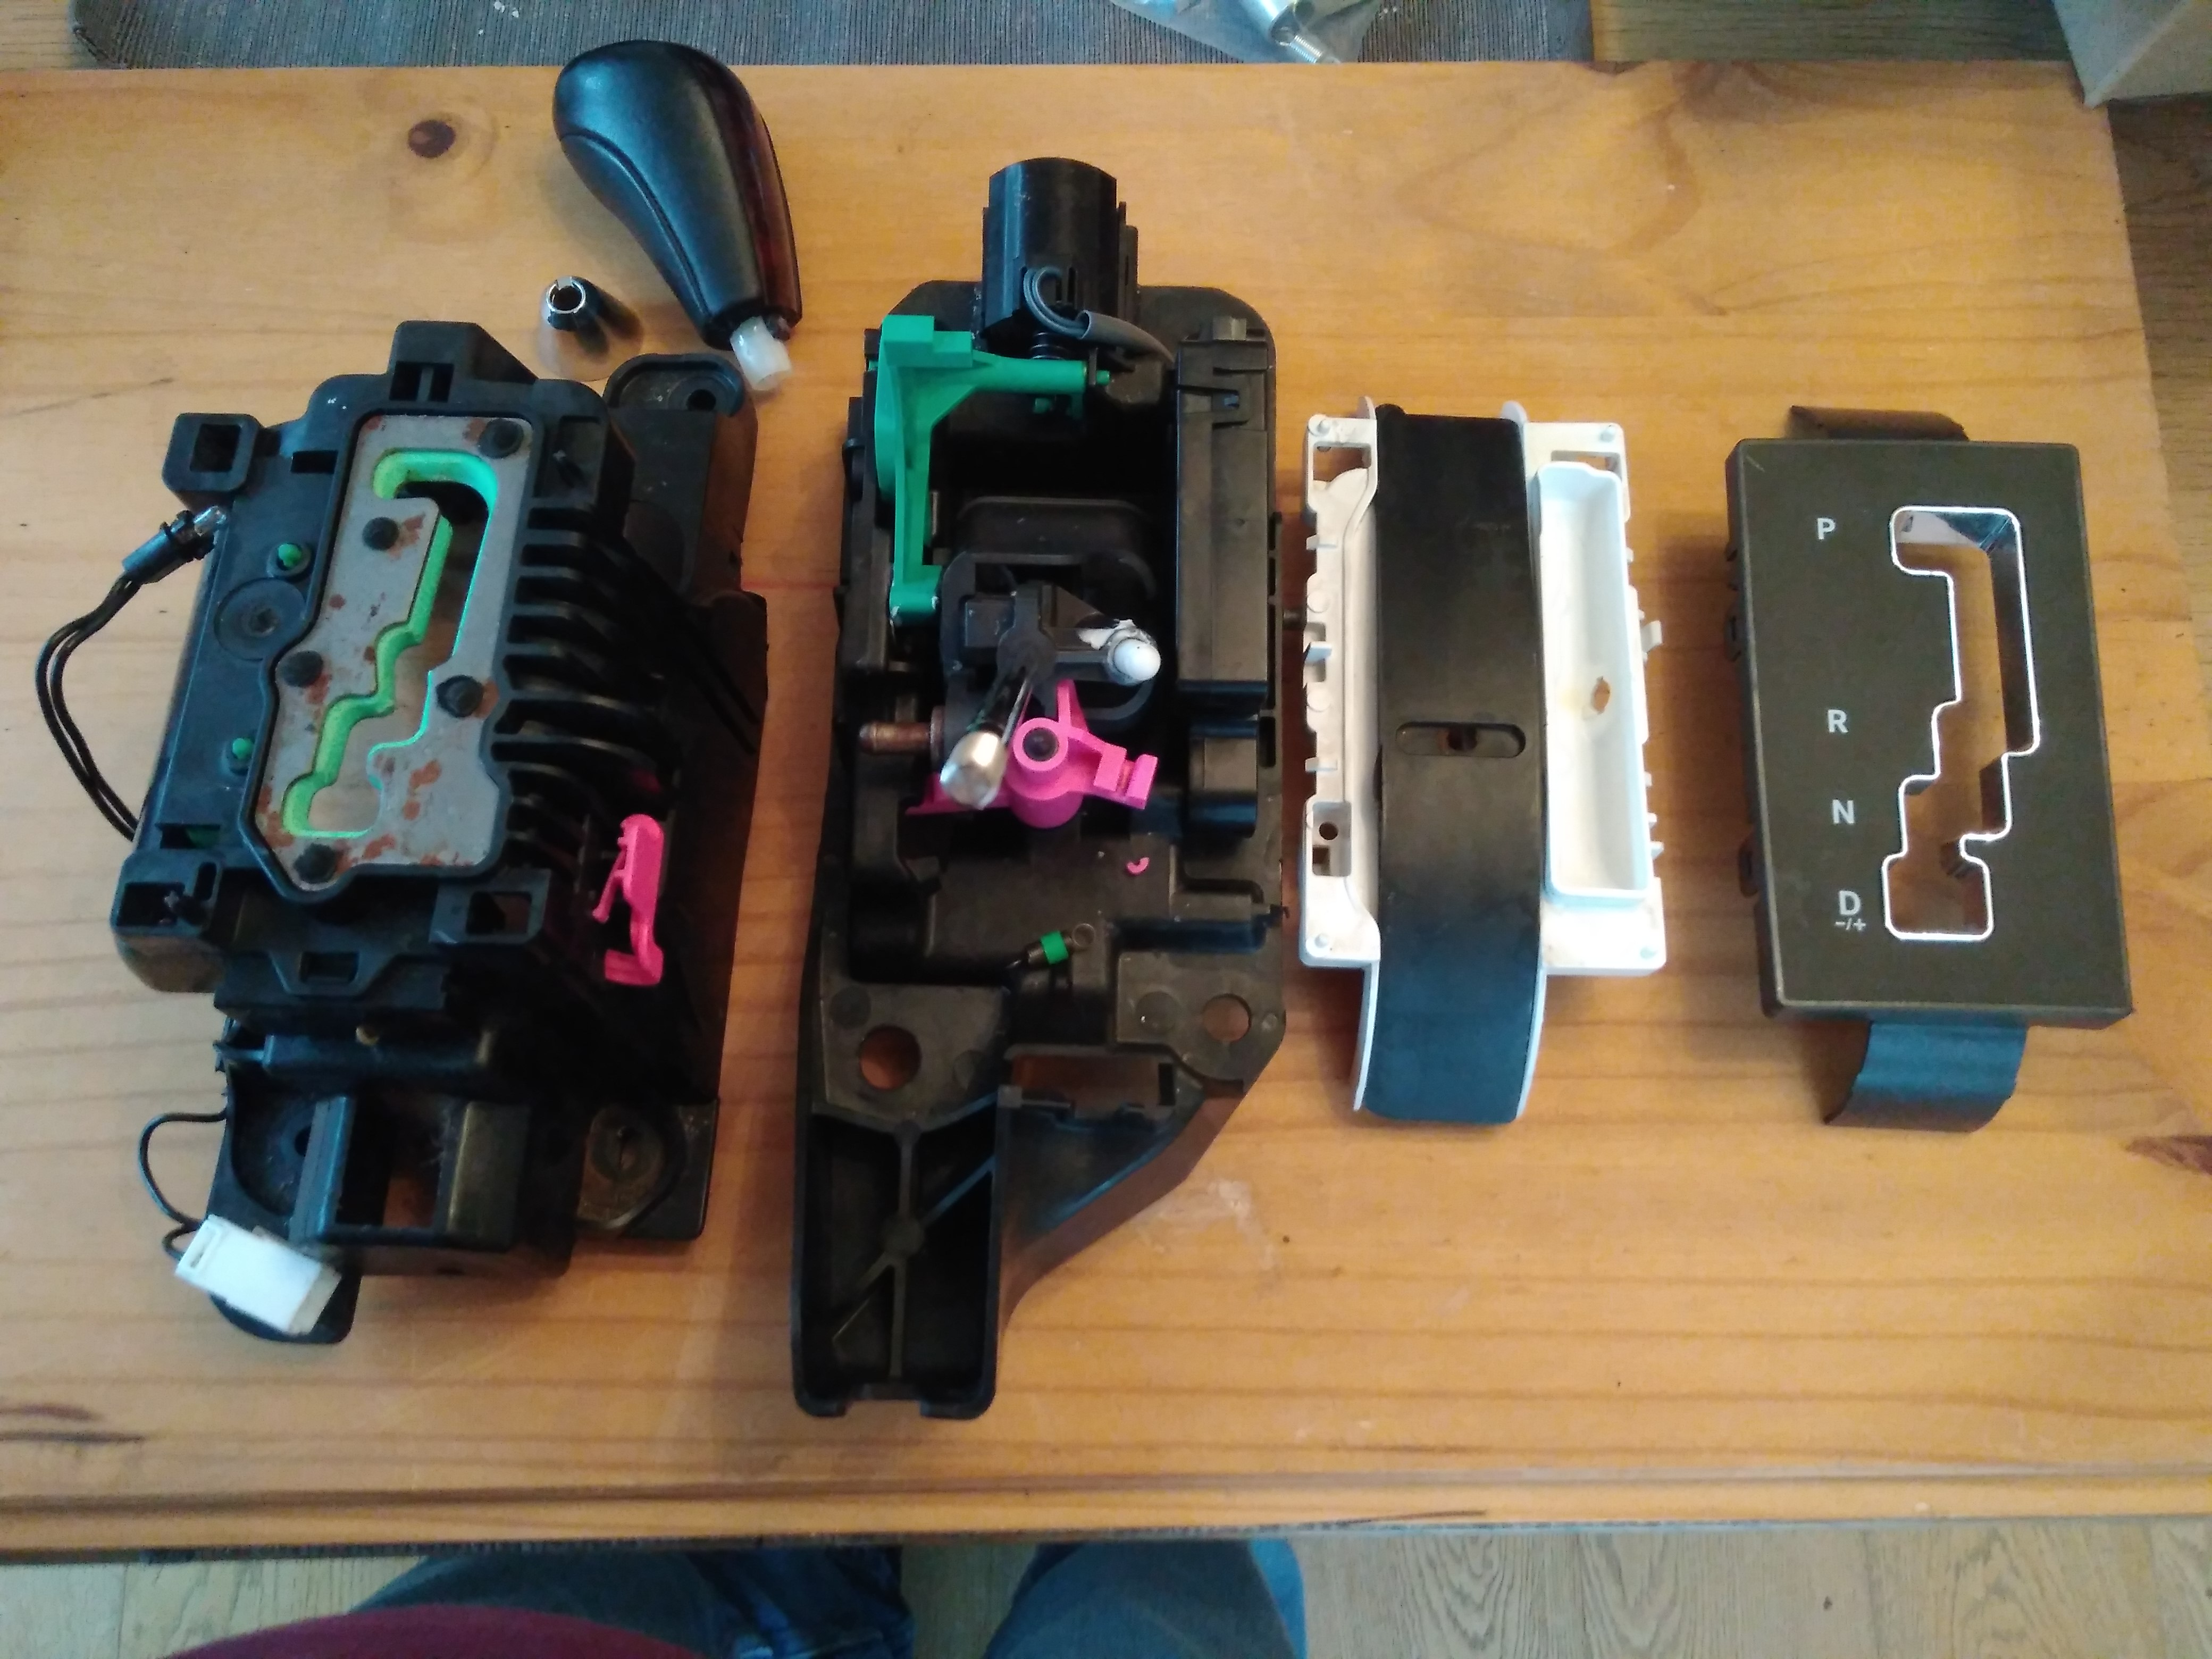
These are some of them:
So, let's get started (click on any image to enlarge):

First of all, take the gear selector knob off!
To do this, I inserted a stanley knife between the chrome plastic bit and the knob and bit by bit prised it open by going all the way round.
Then you can unscrew the knob.
Once you have done this, follow the YouTube video #1 above, to remove the chrome trim, tray and surround.
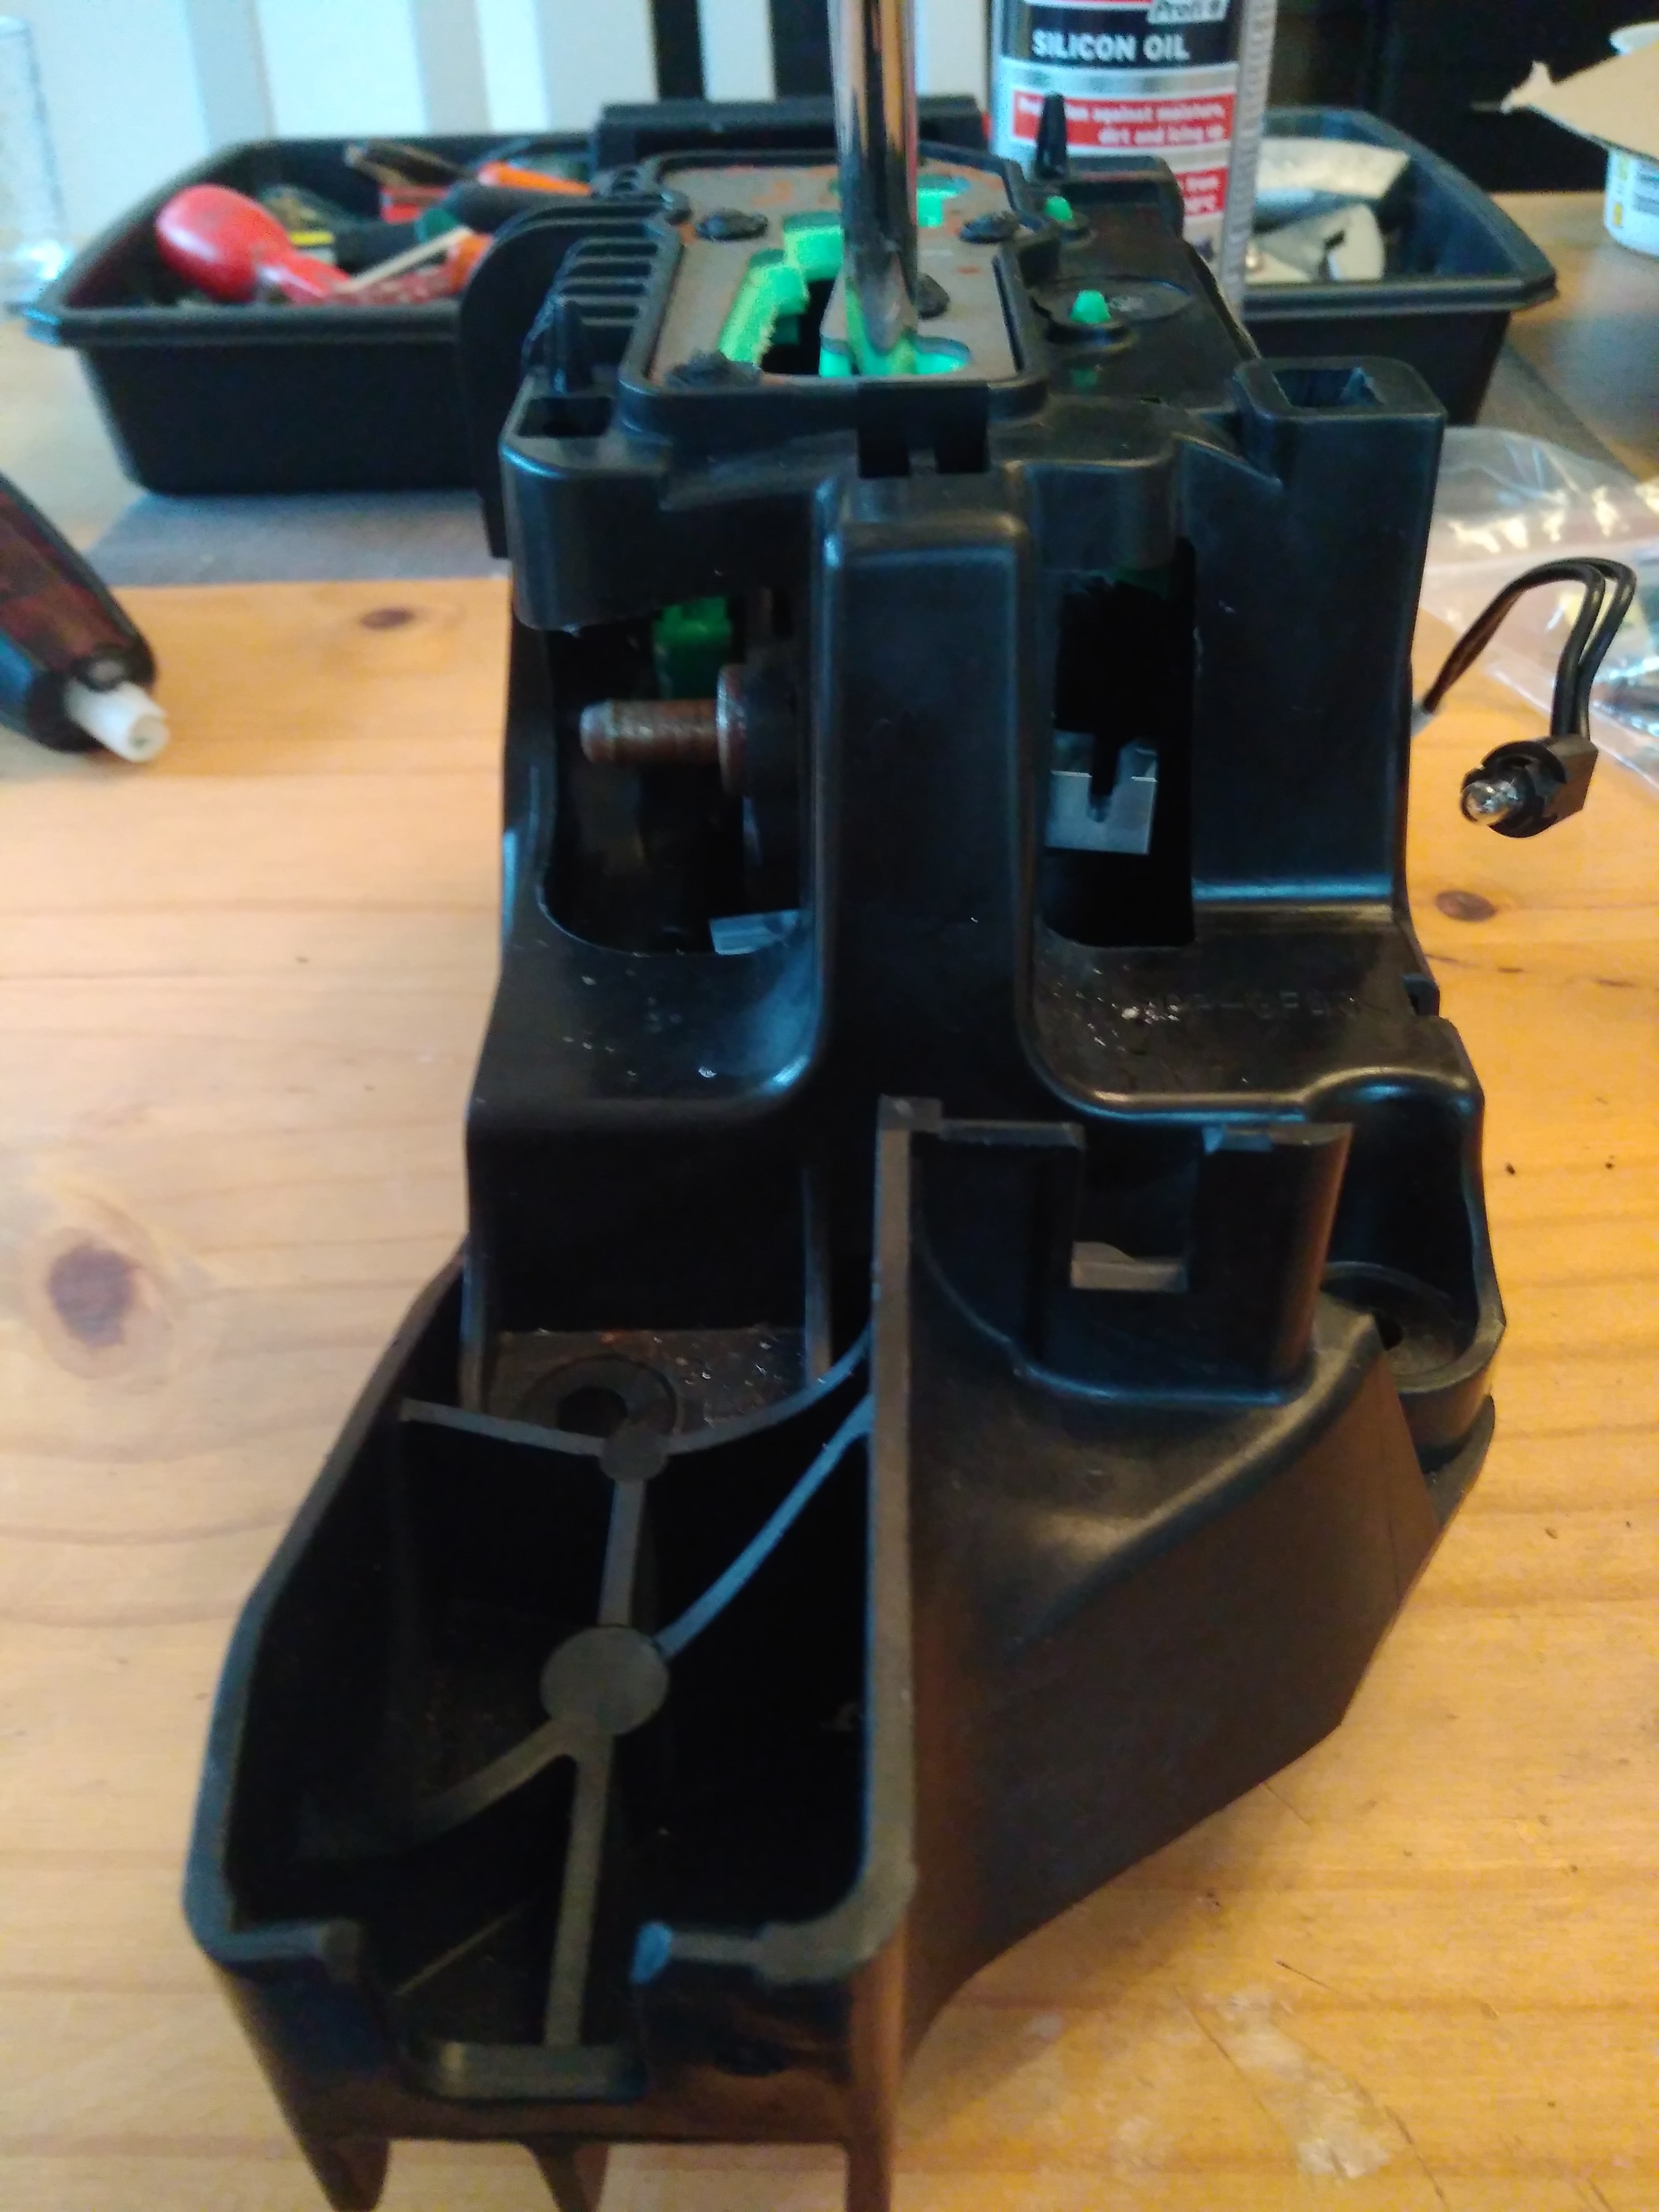
The picture here, shows you the two parts that you now need to remove to make it MUCH easier to remove the whole unit.
THE VIDEOS DO NOT SHOW THIS, PROBABLY BECAUSE THEY HAVE MORE SPACE IN THEIR CARS!!!
(I took this picture after I had already removed the whole unit.)
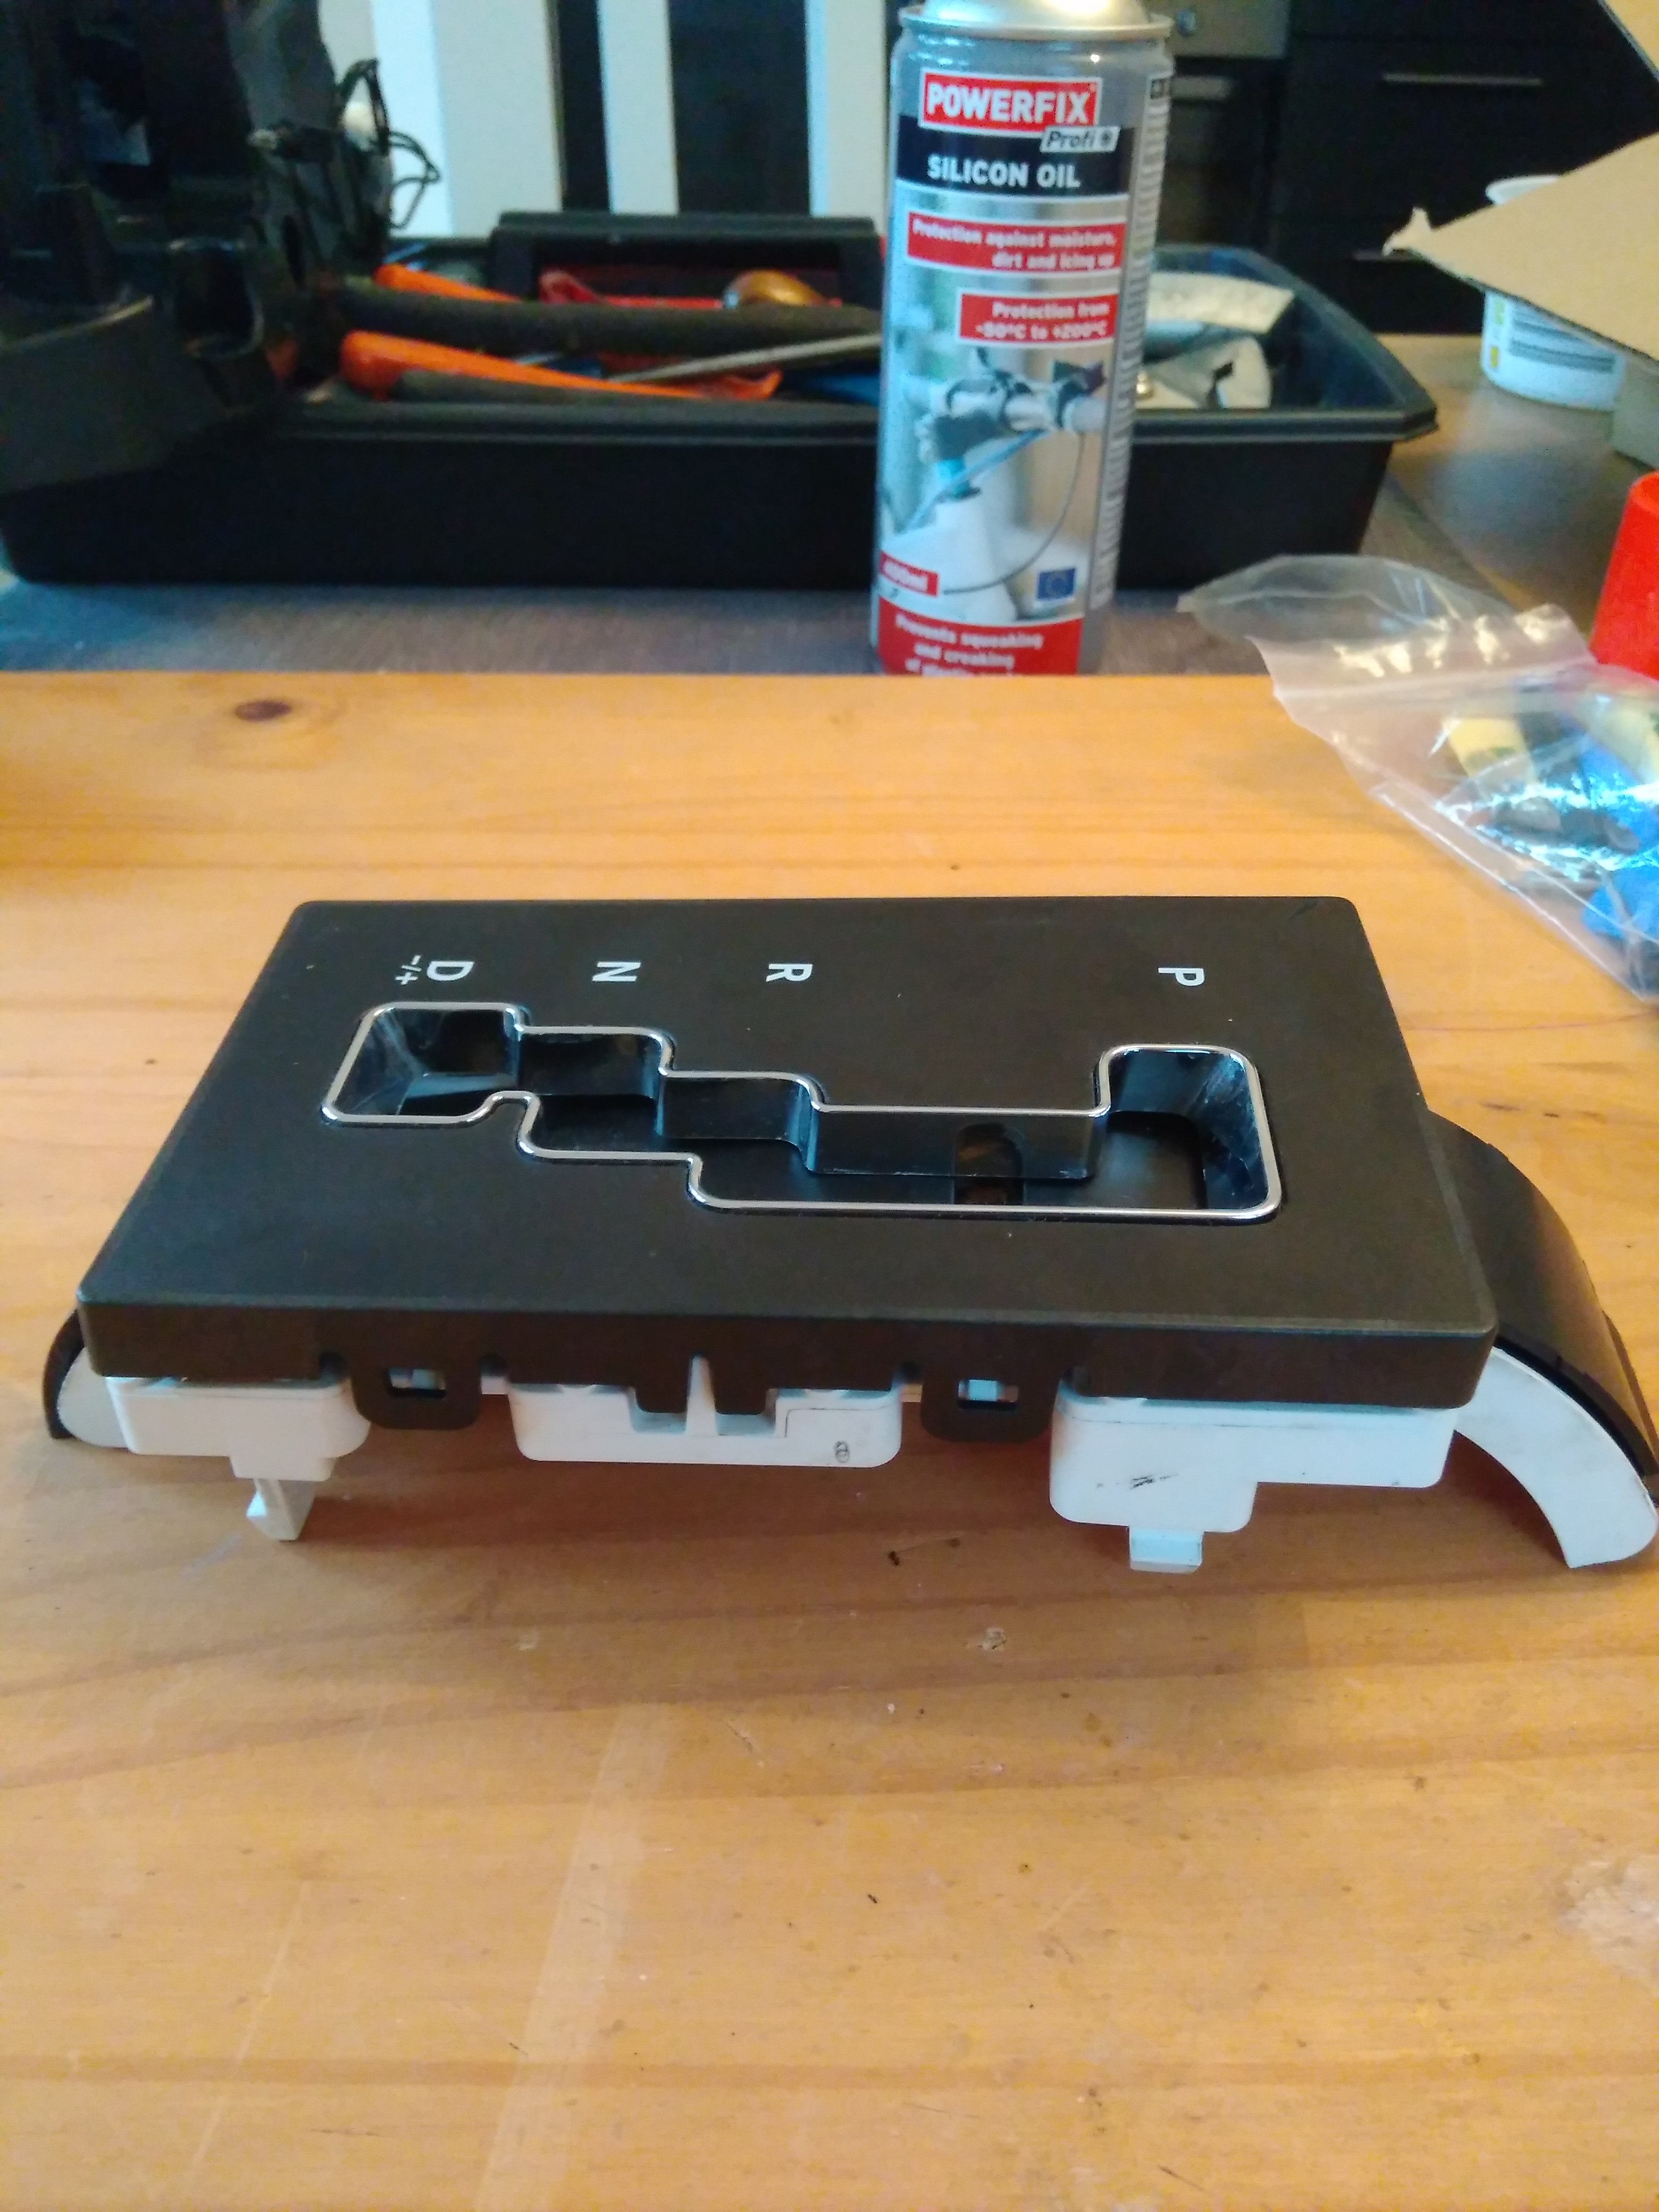
There are 4 black tabs on each side of the black PRND cover.
Carefully lift the tabs and remove the cover.
Remove the bulb by turning the holder (on the outside of the unit) and sliding the holder and bulb out.
If you can't get the cover off, here are some additional steps I took.
ADDITIONAL STEPS:
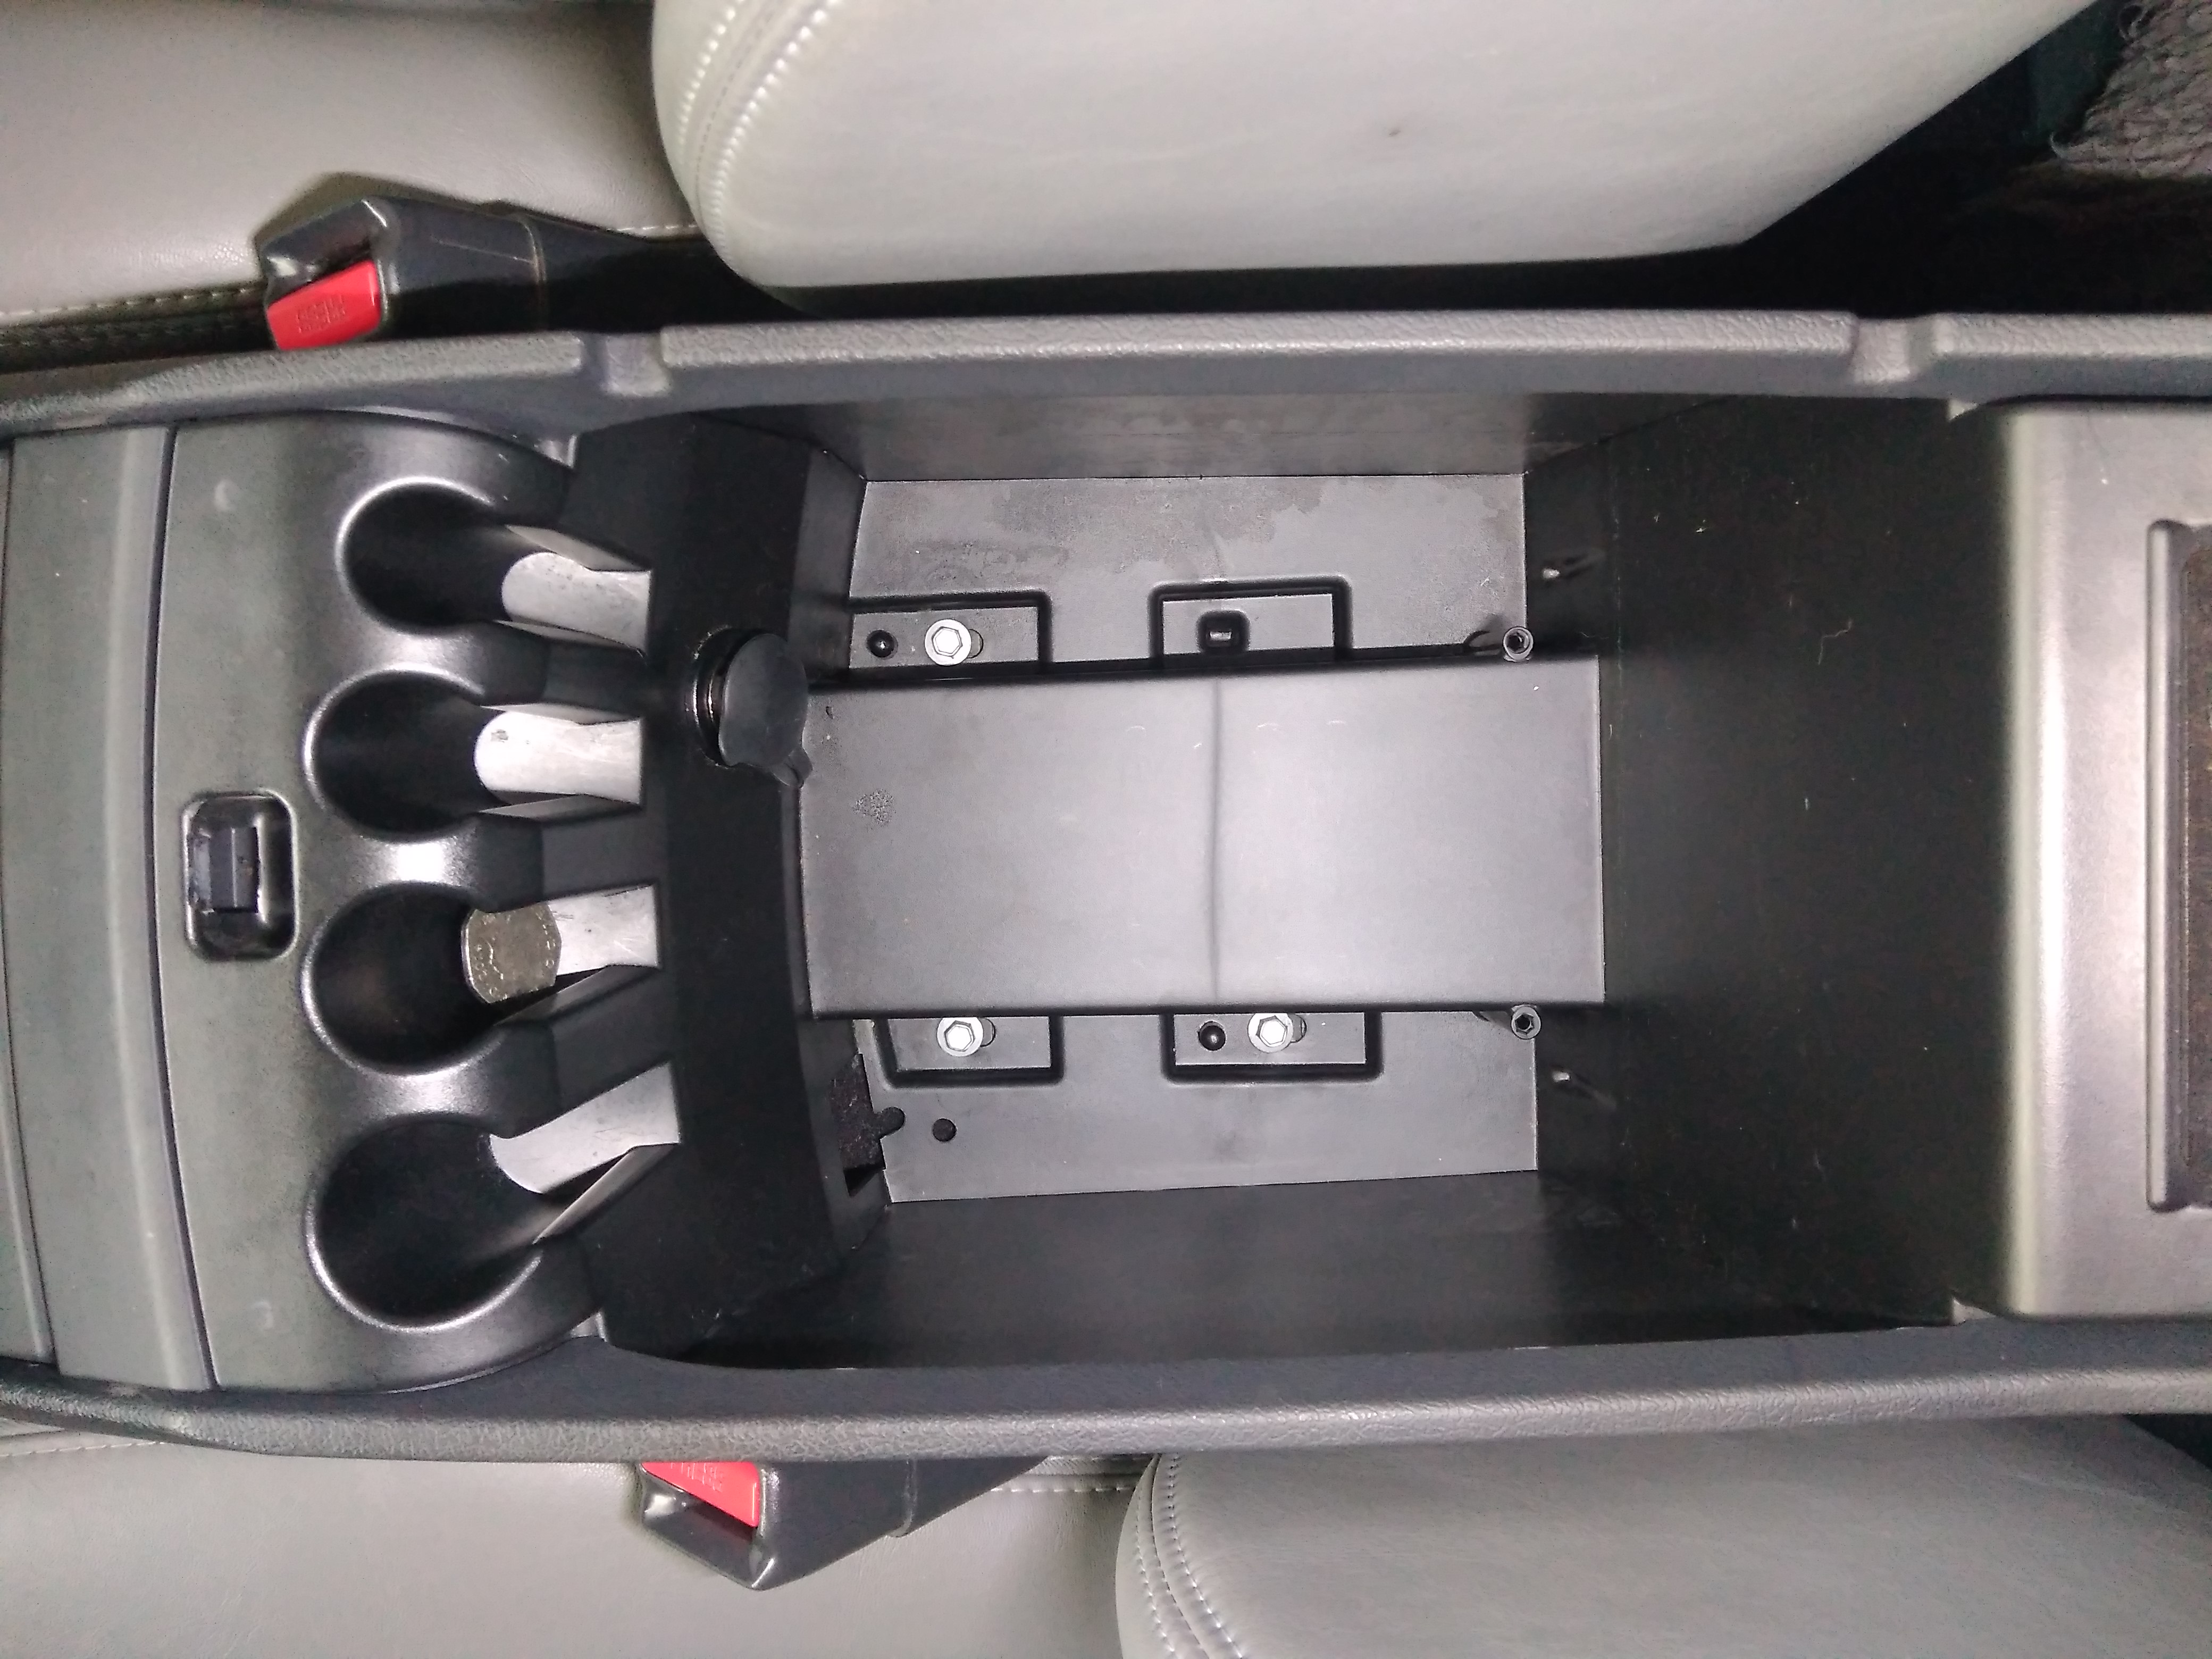
Remove the tray from inside the centre arm rest.
Unscrew the 3 bolts and remove them.
DO NOT TRY TO REMOVE THE WHOLE CENTRE CONSOLE!!
Now put your fingers under the middle at the back of the console (where it touches the carpet) and slightly raise it (2-3 cm should be enough).
This should in turn give you a bit more room to get the gear lever unit out.
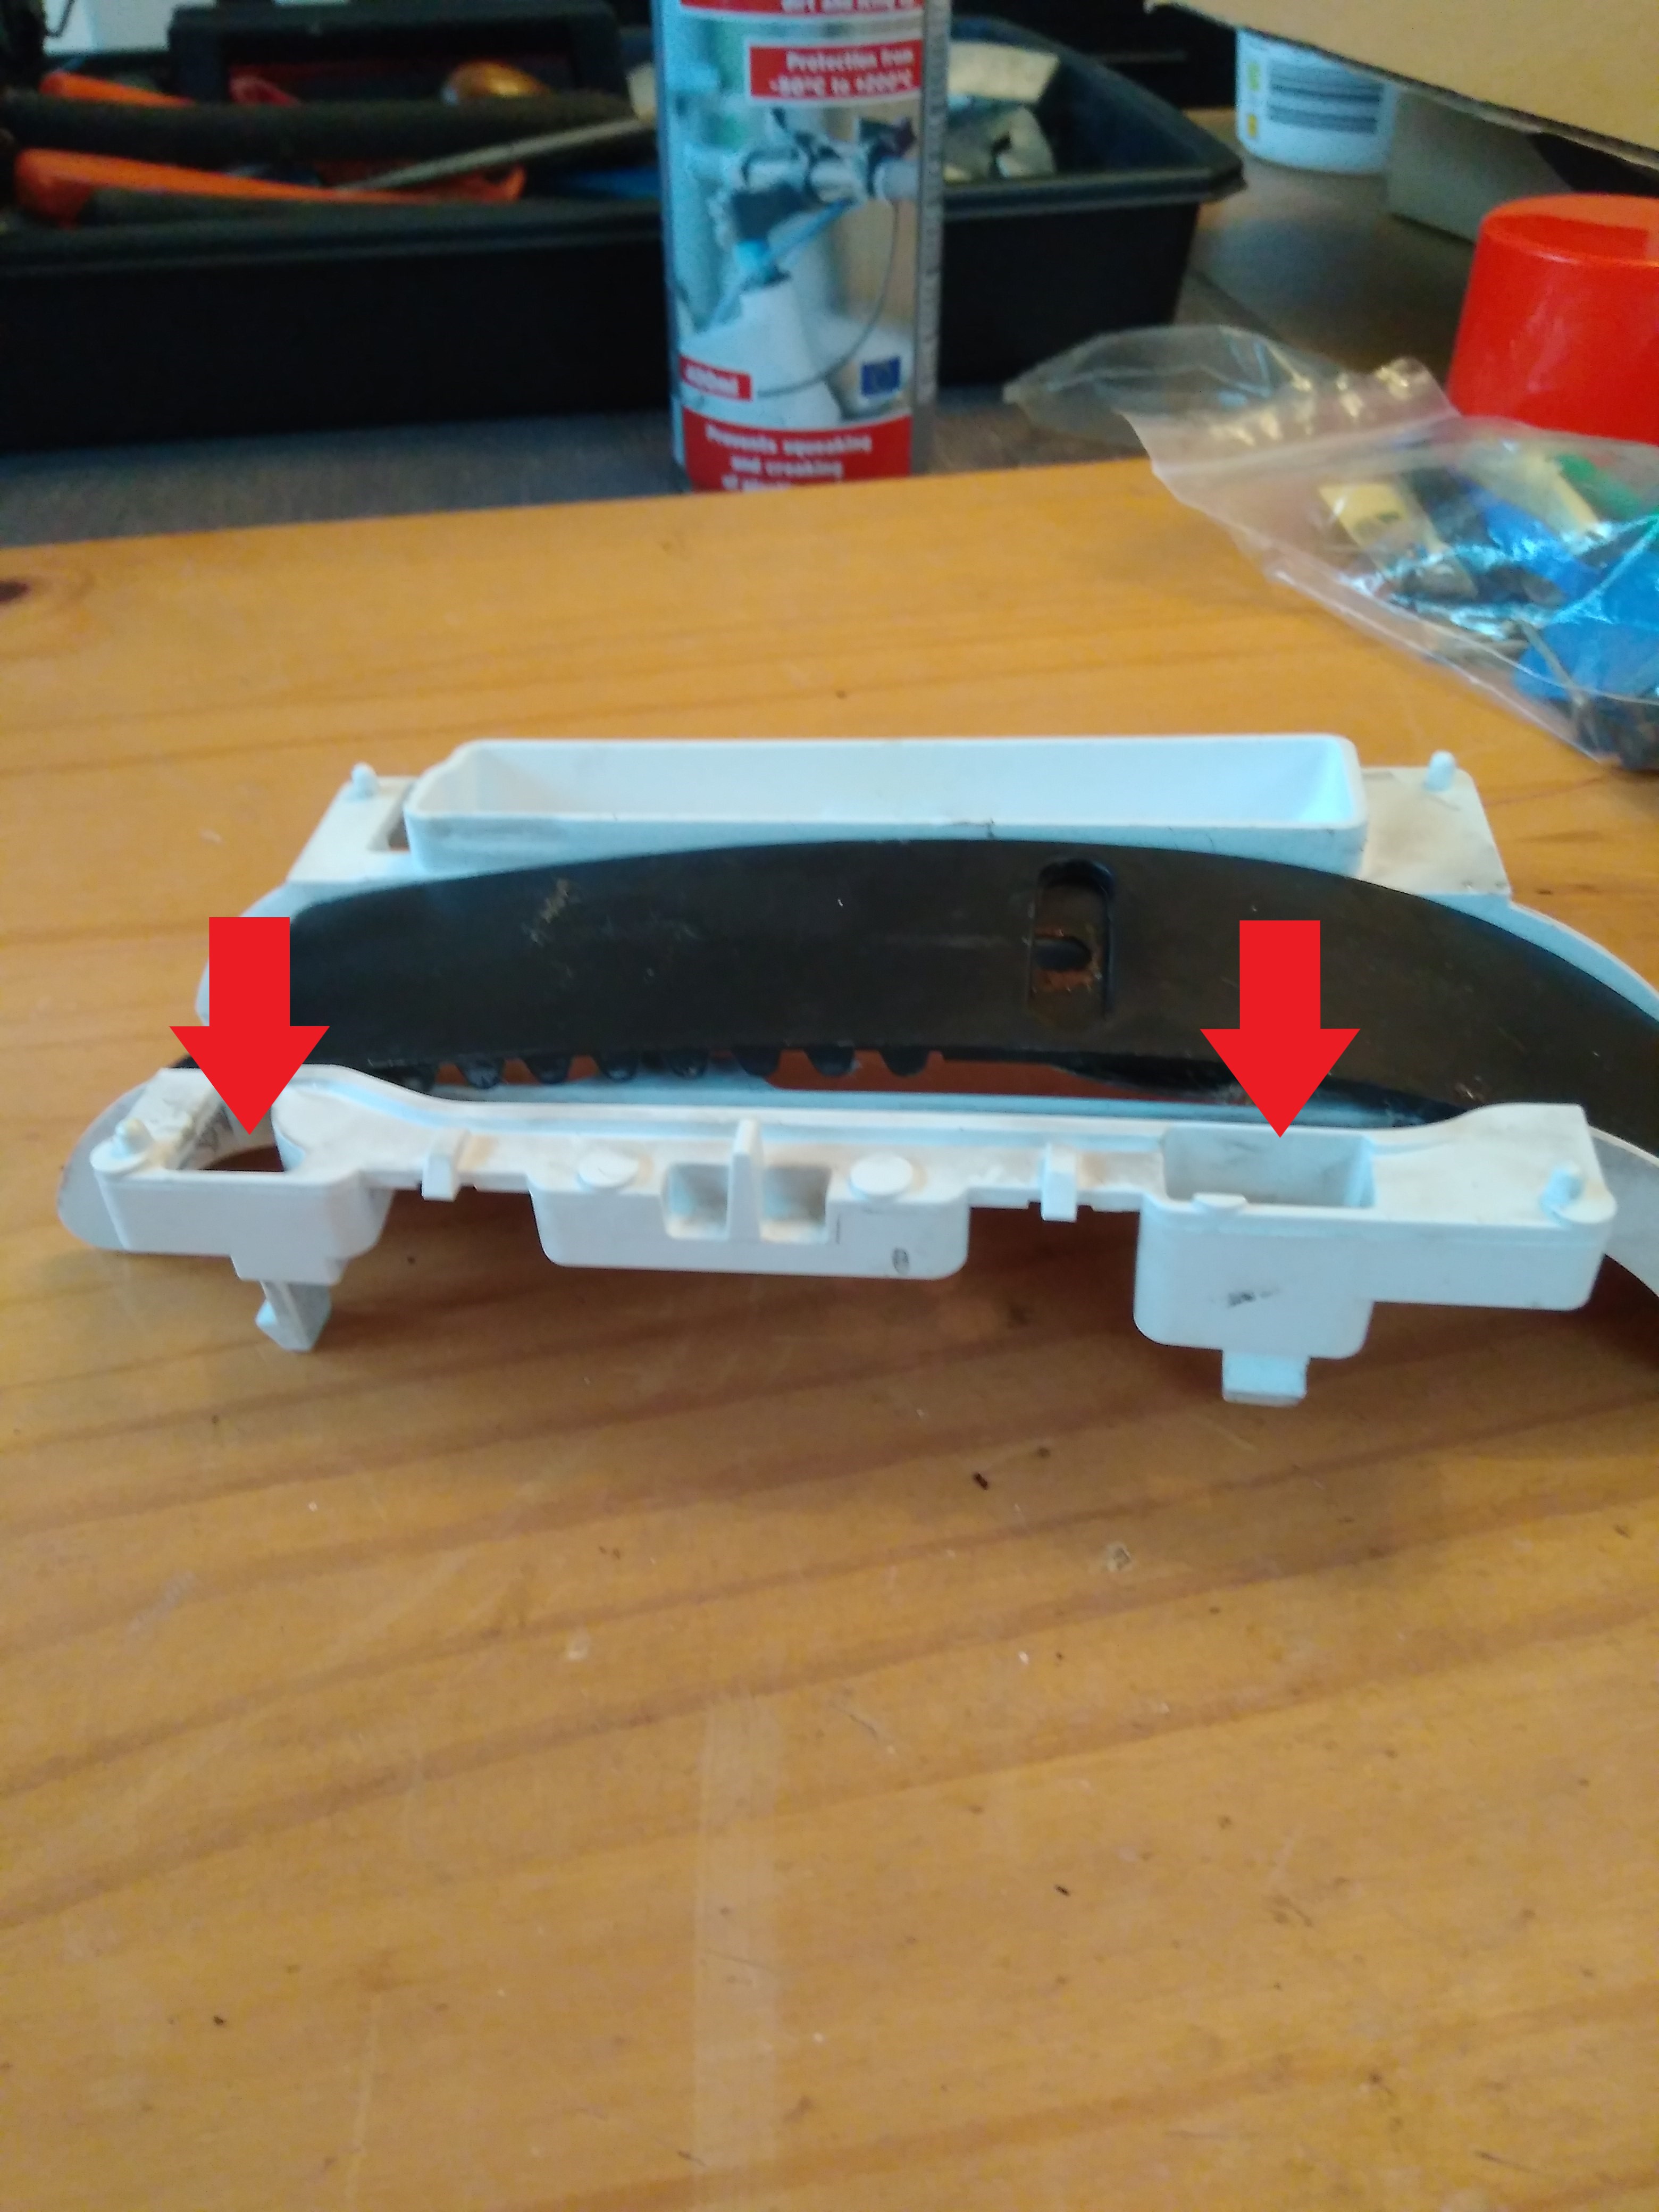
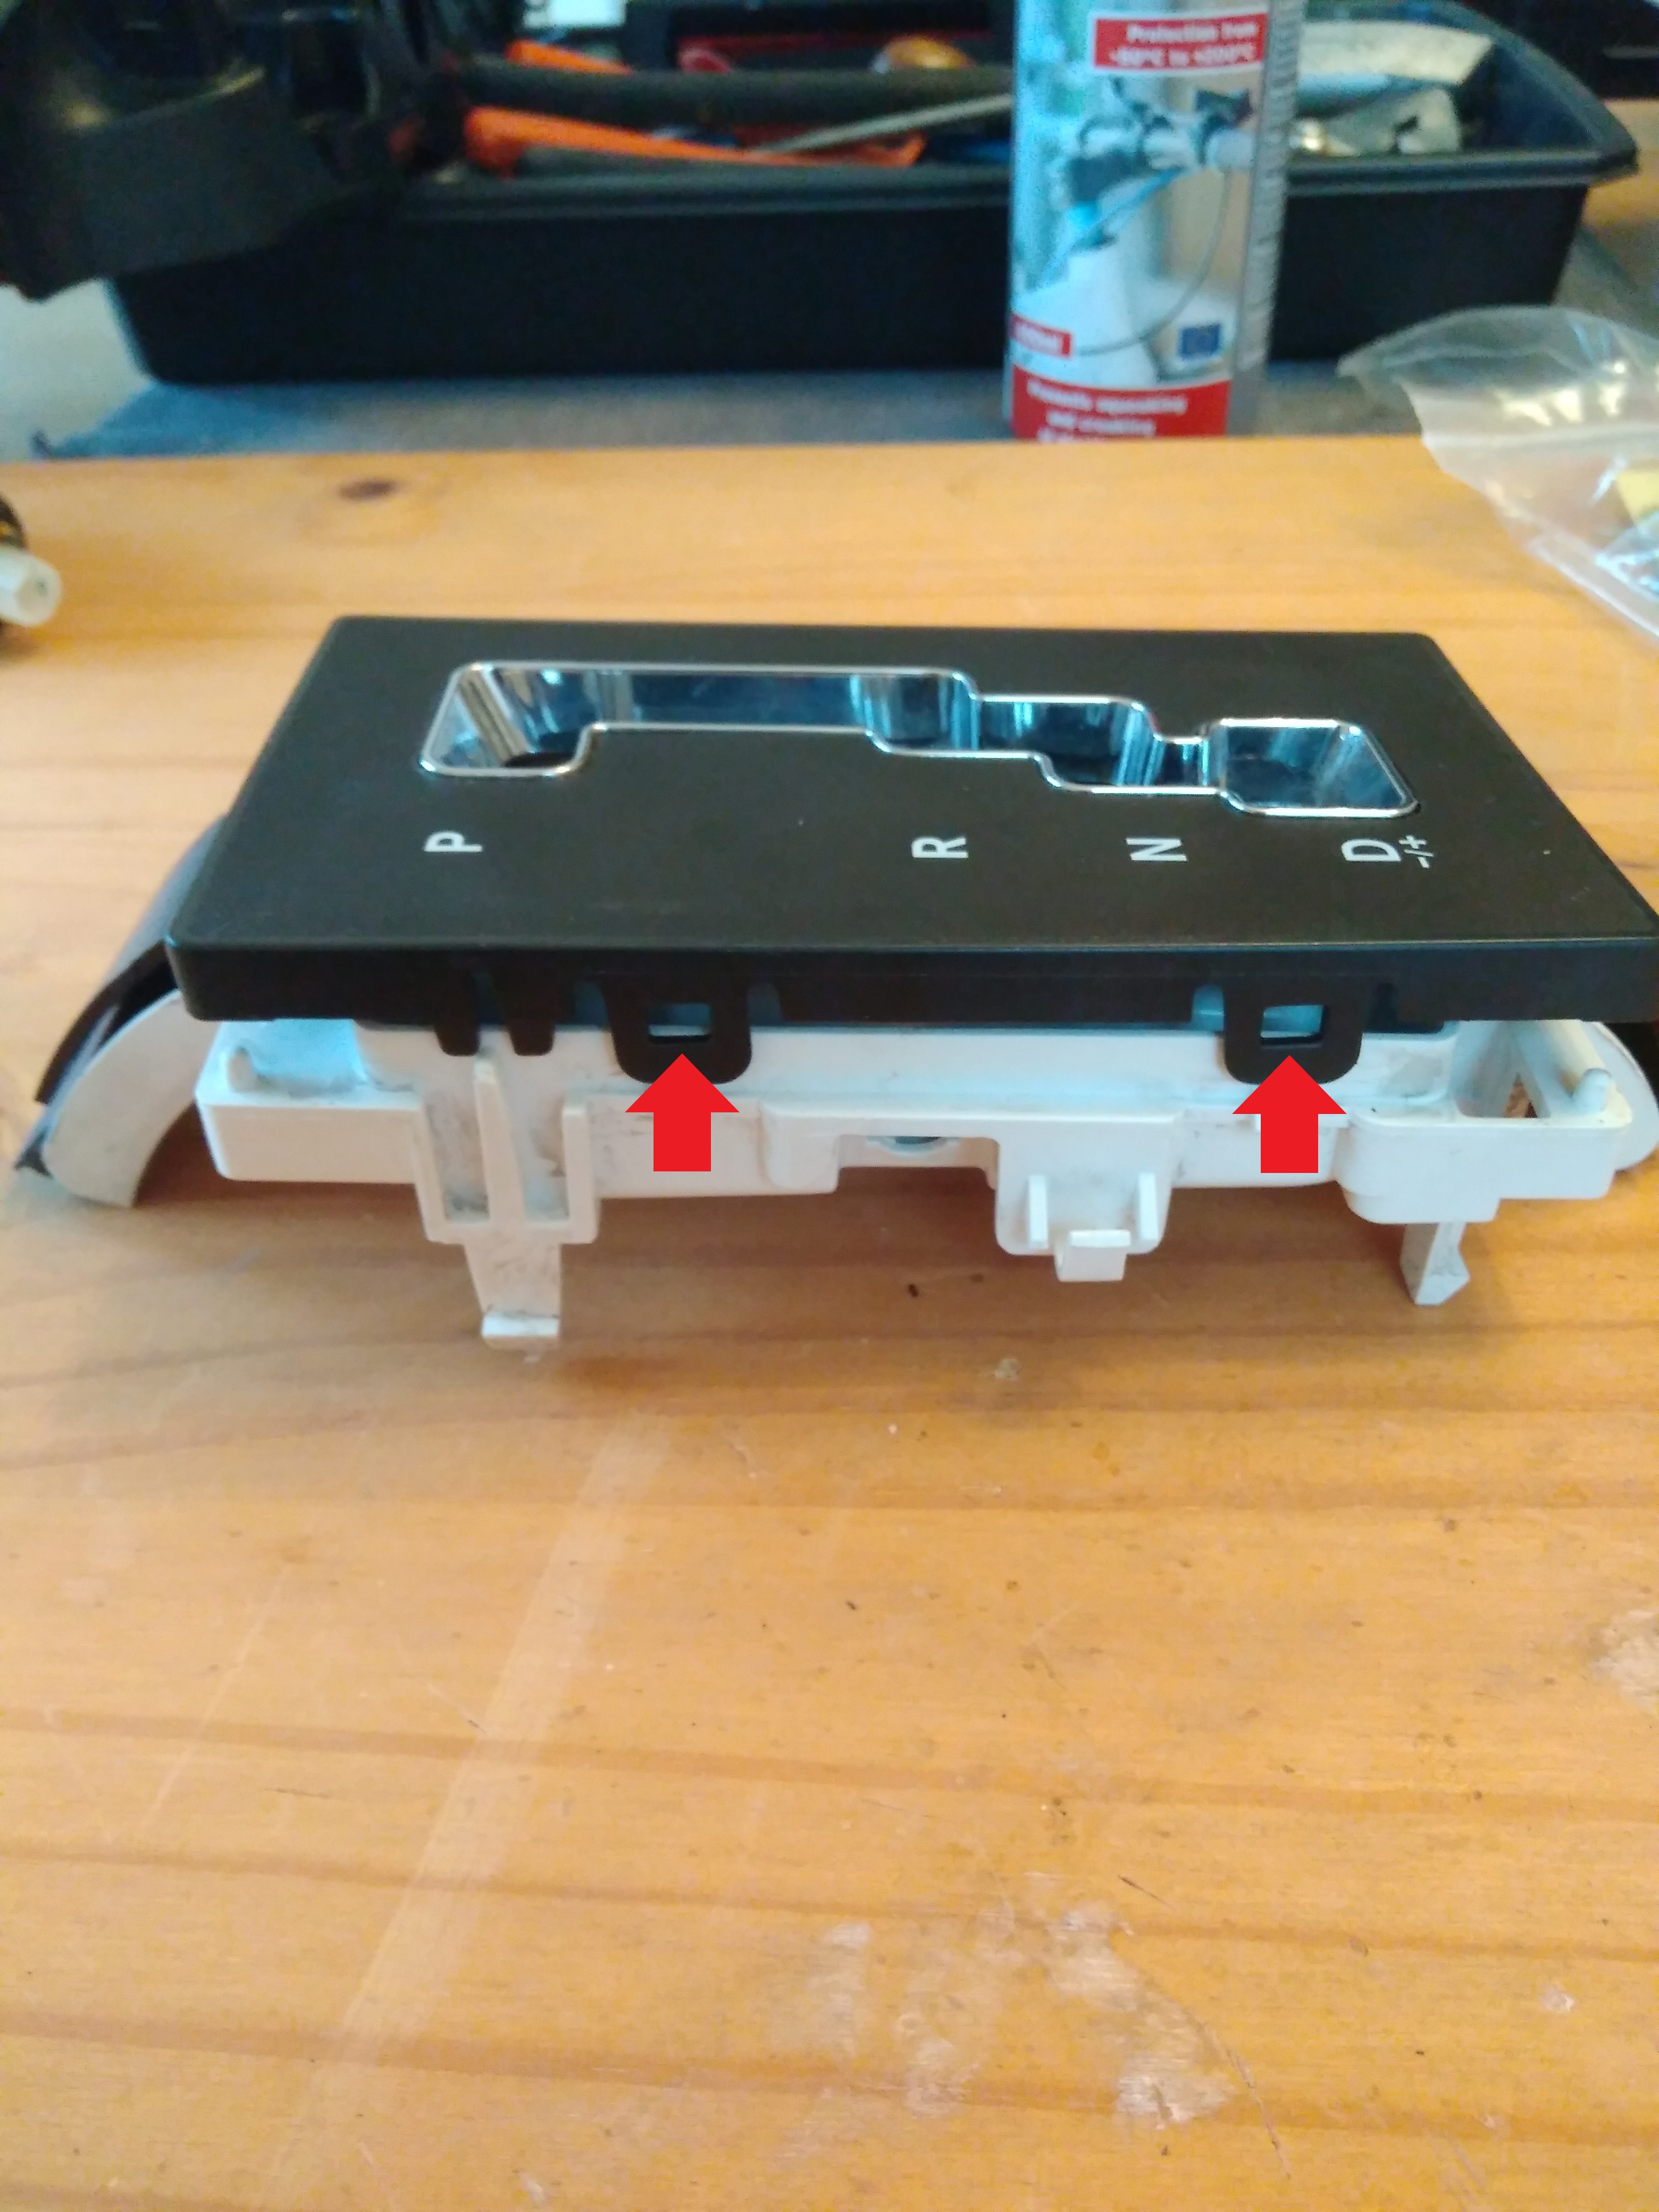
Now, insert a flat head screw driver in the slots marked by the red arrow.
There are 2 on each side.
This will release the white unit so you can remove it.
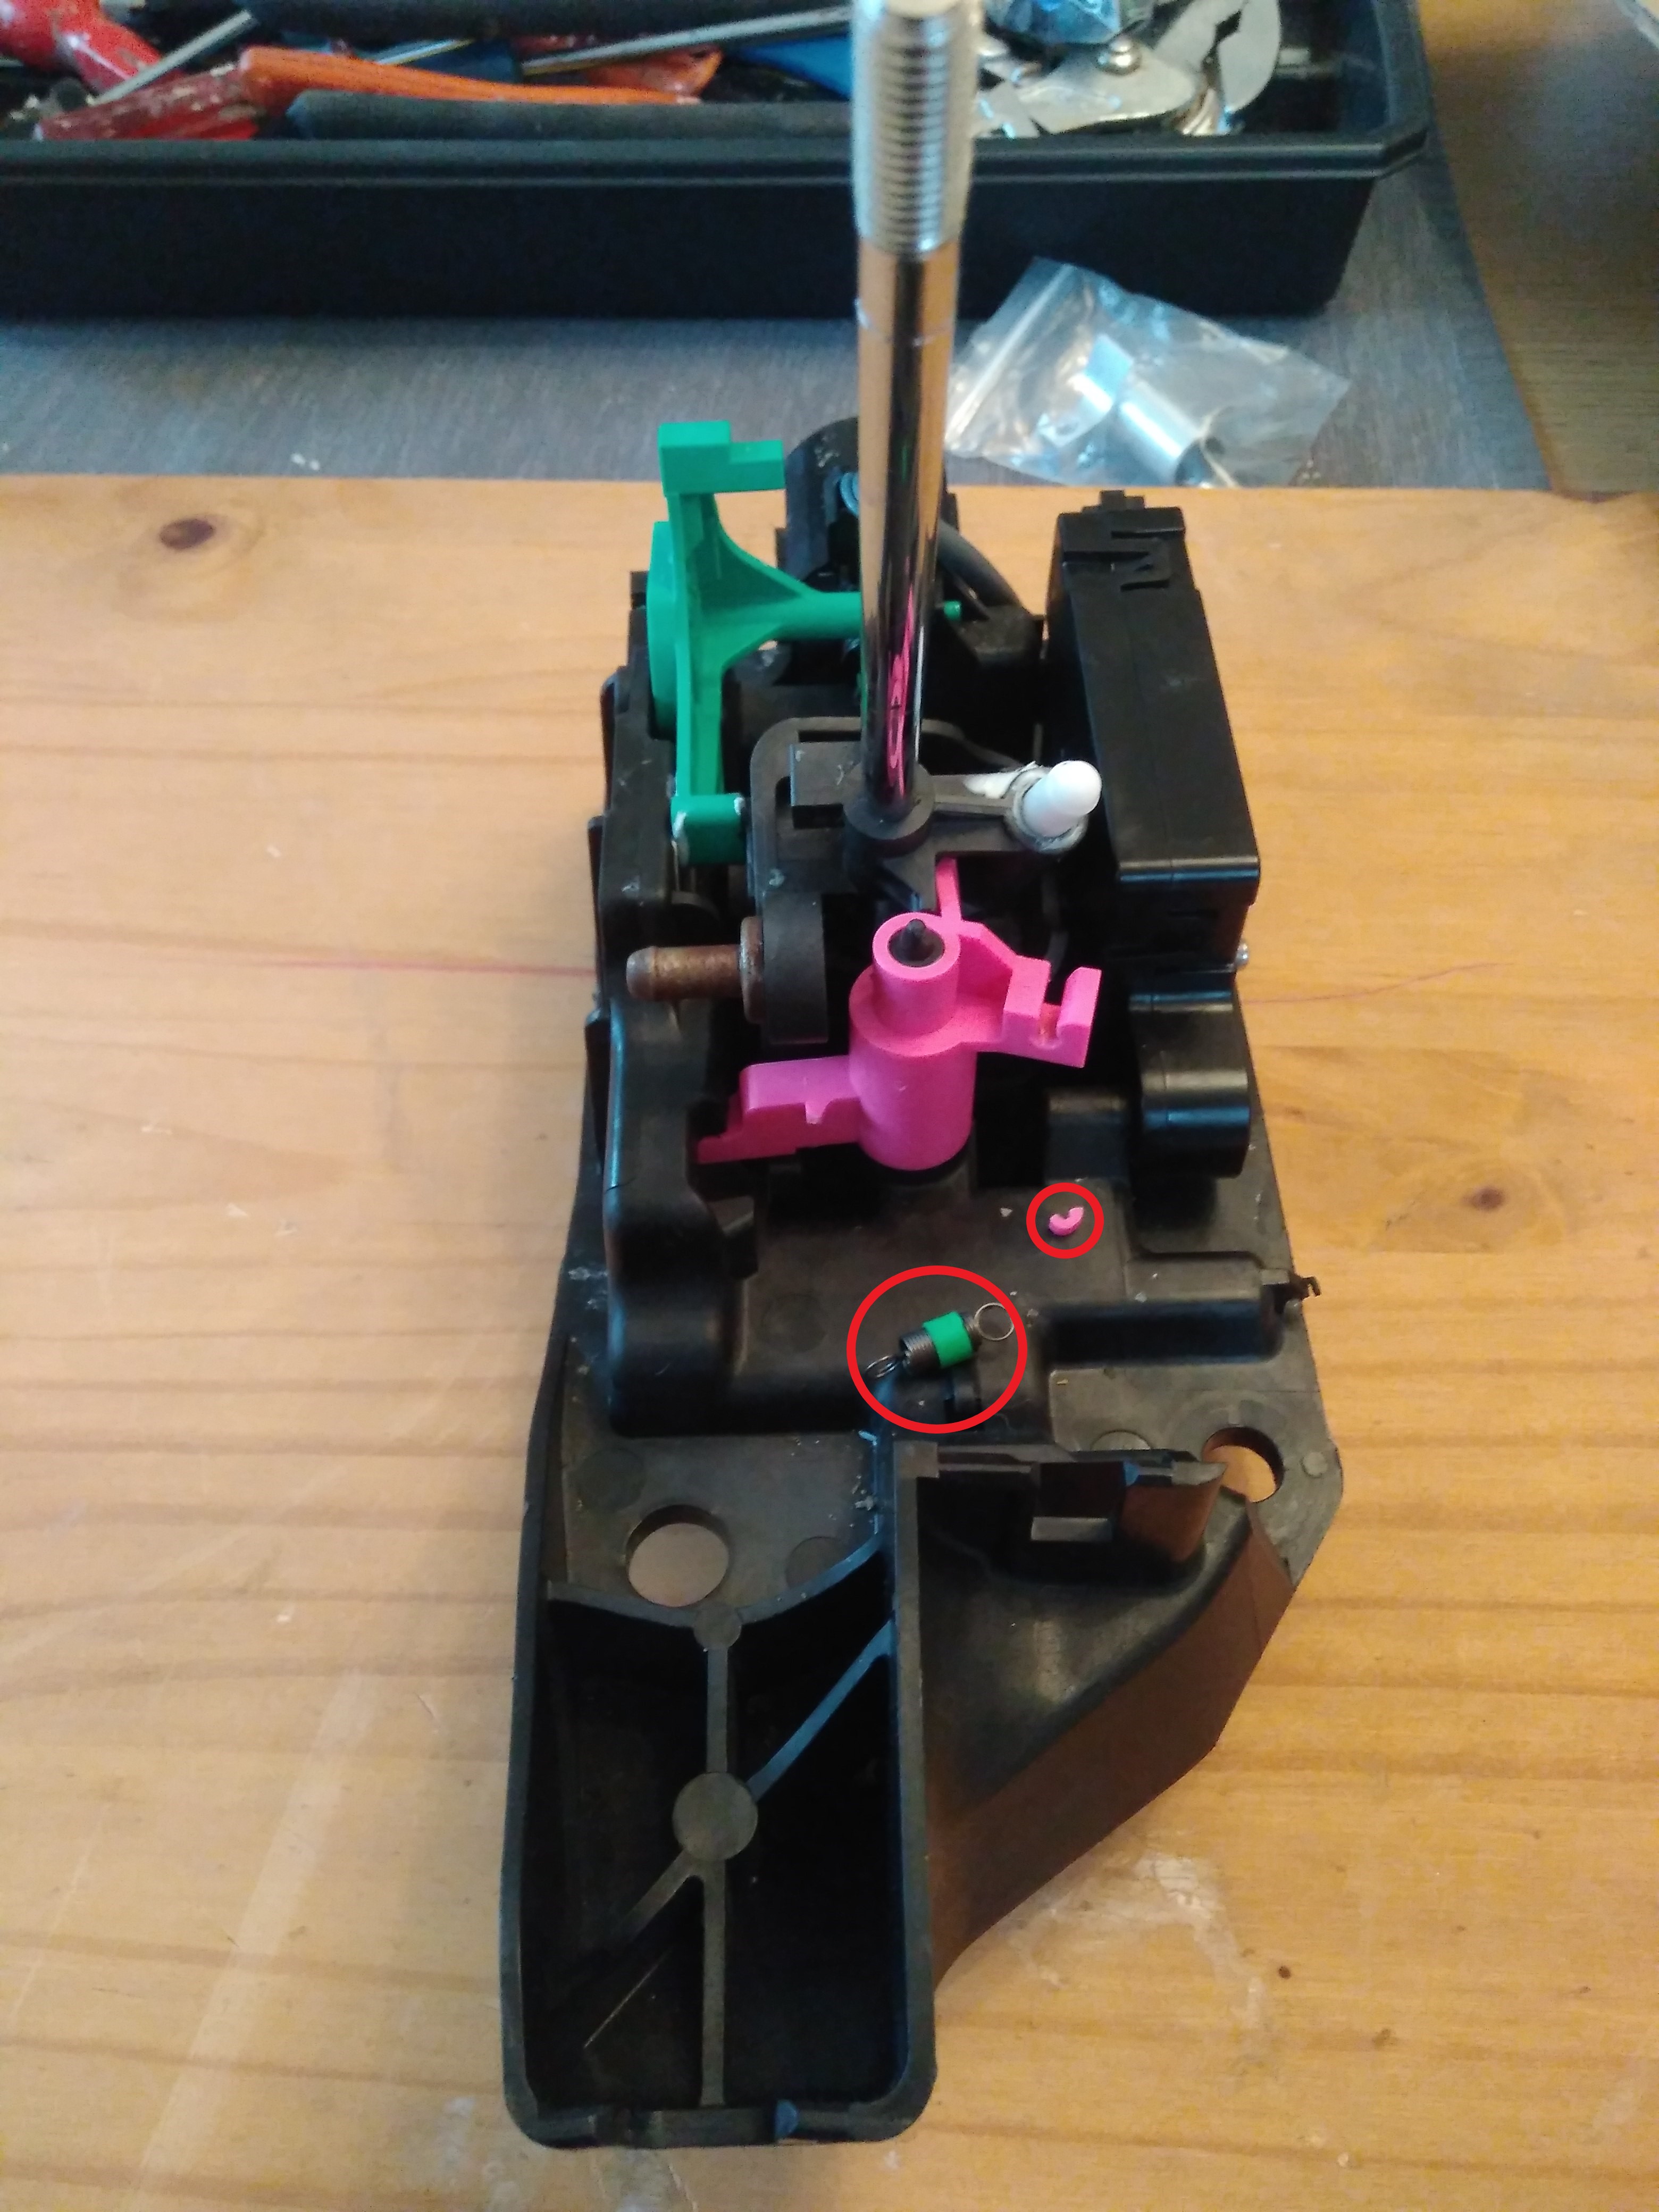
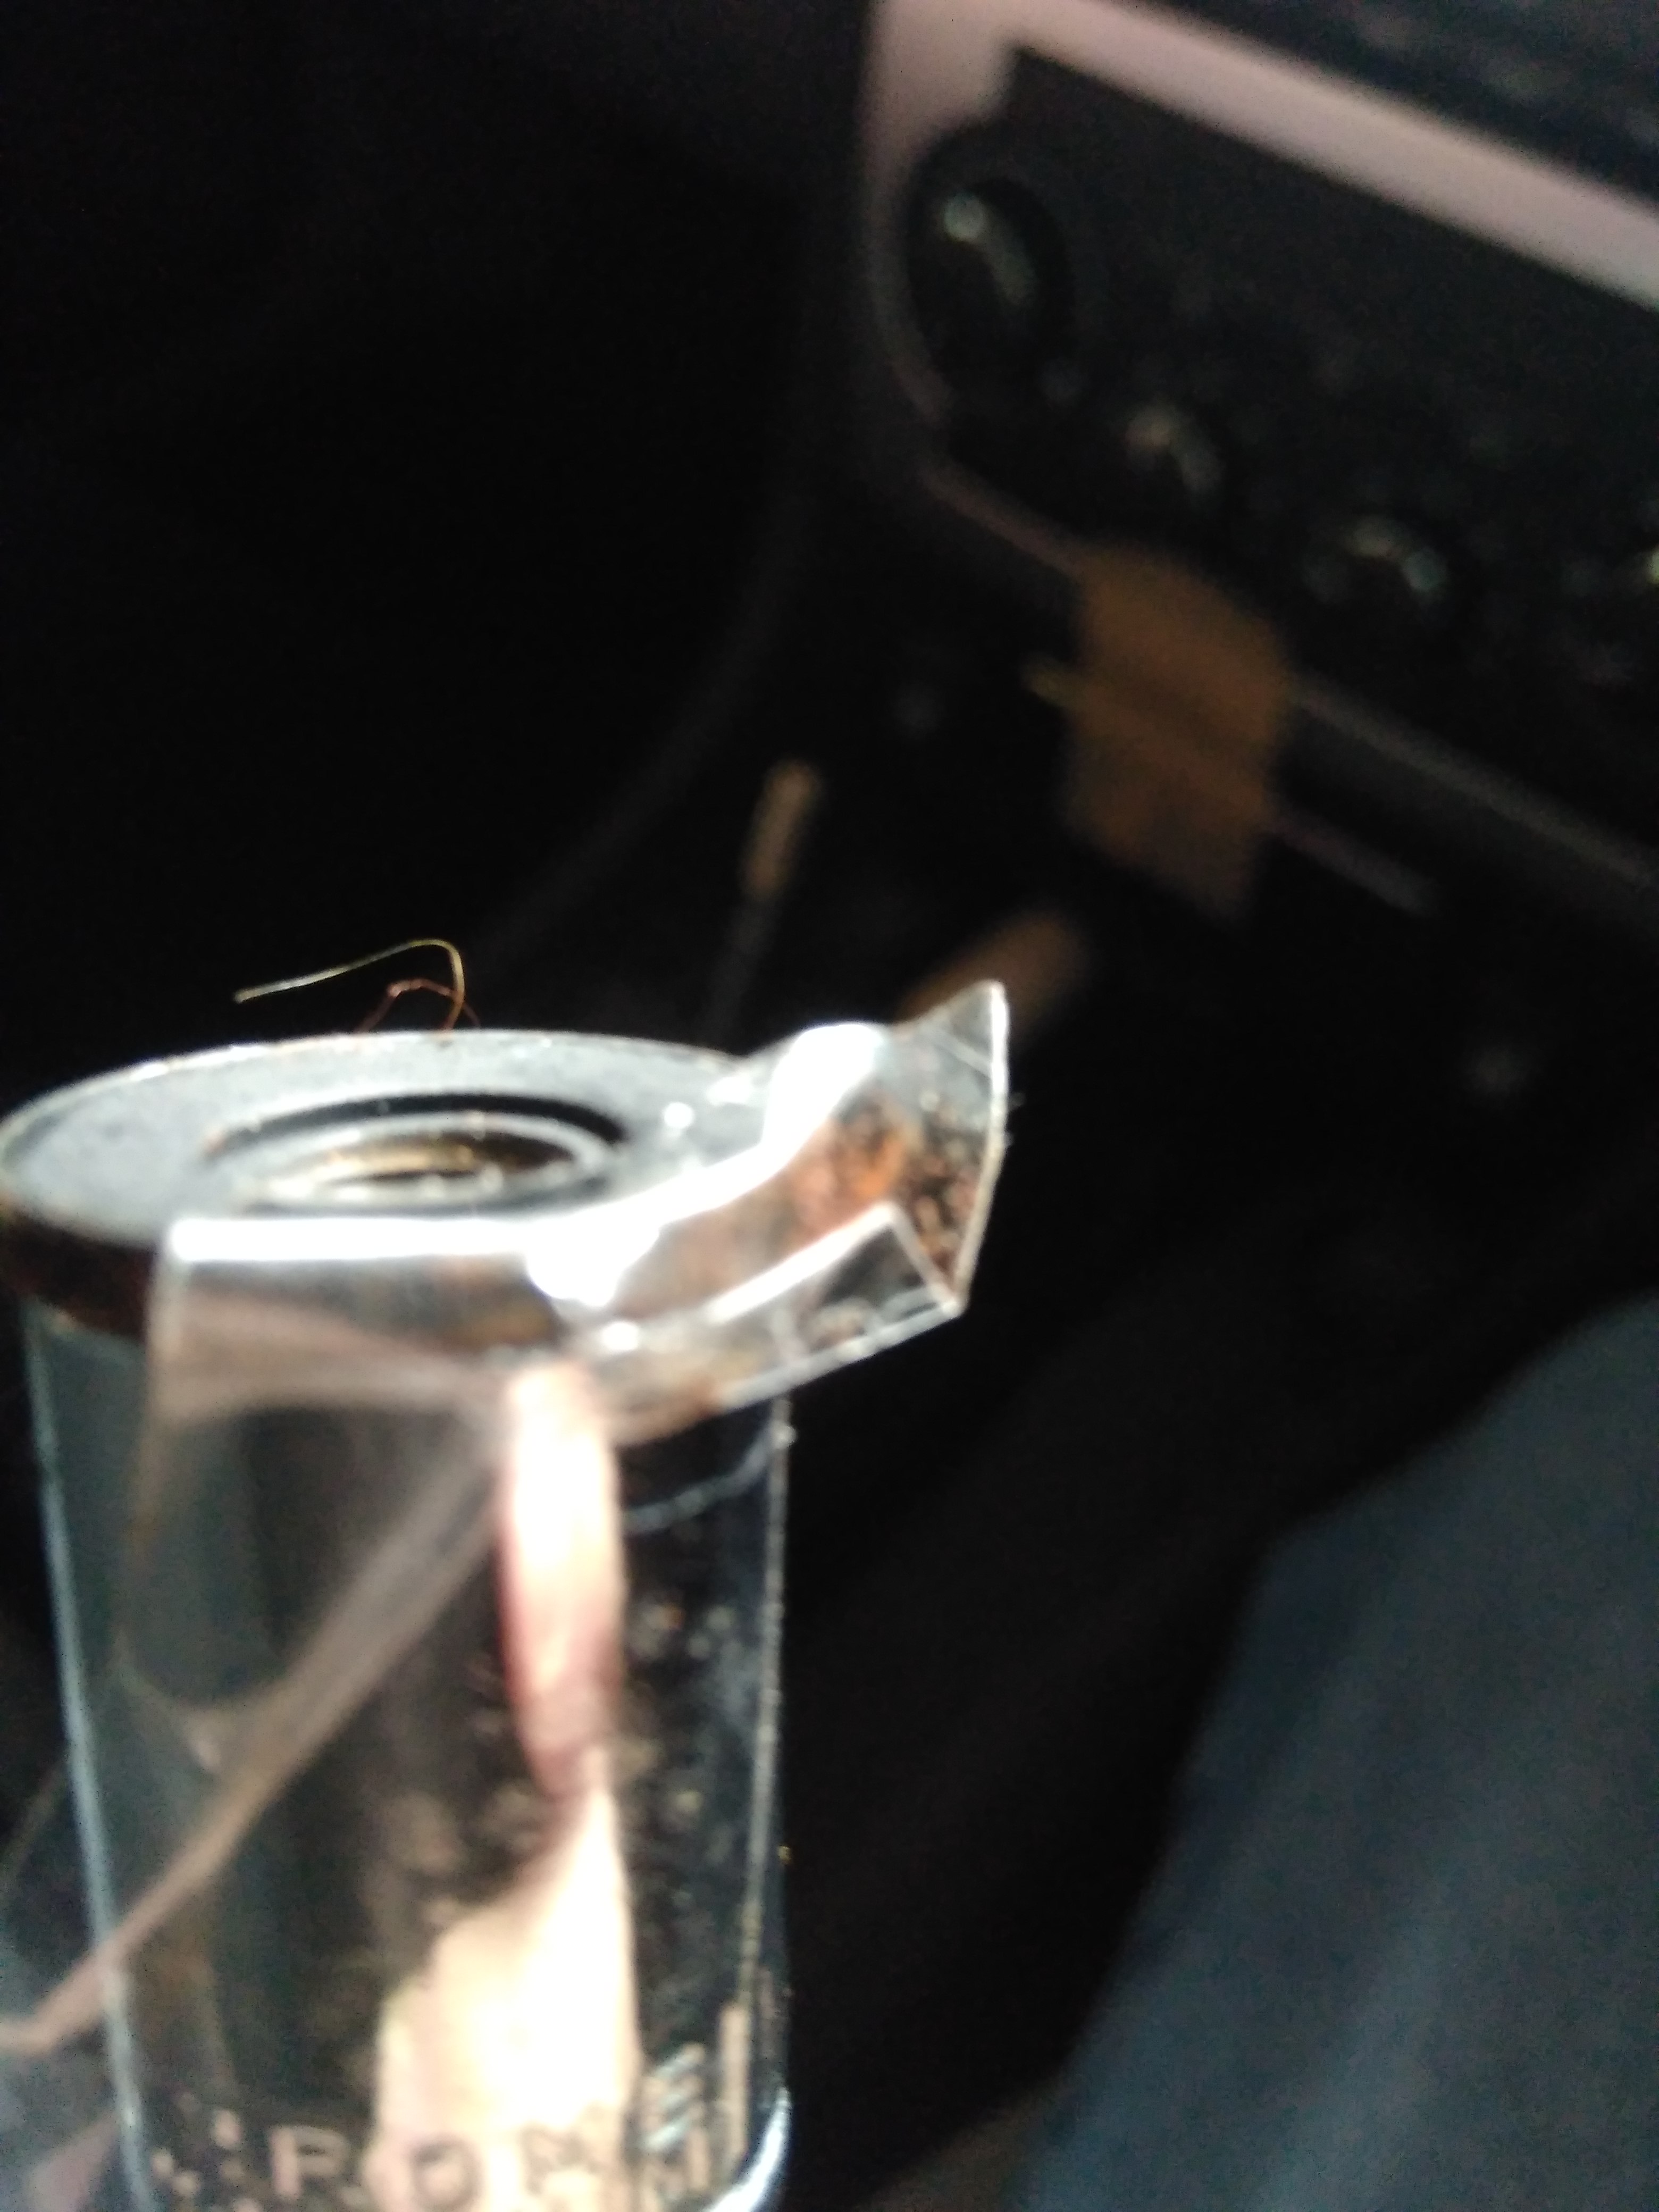
Now, you can carry on with the video and you should be able to remove the whole unit and open it. You can see the broken off pink bit and the spring.
I would strongly suggest that you now order the replacement part from Custom 300C Shop.
This is the part you need.
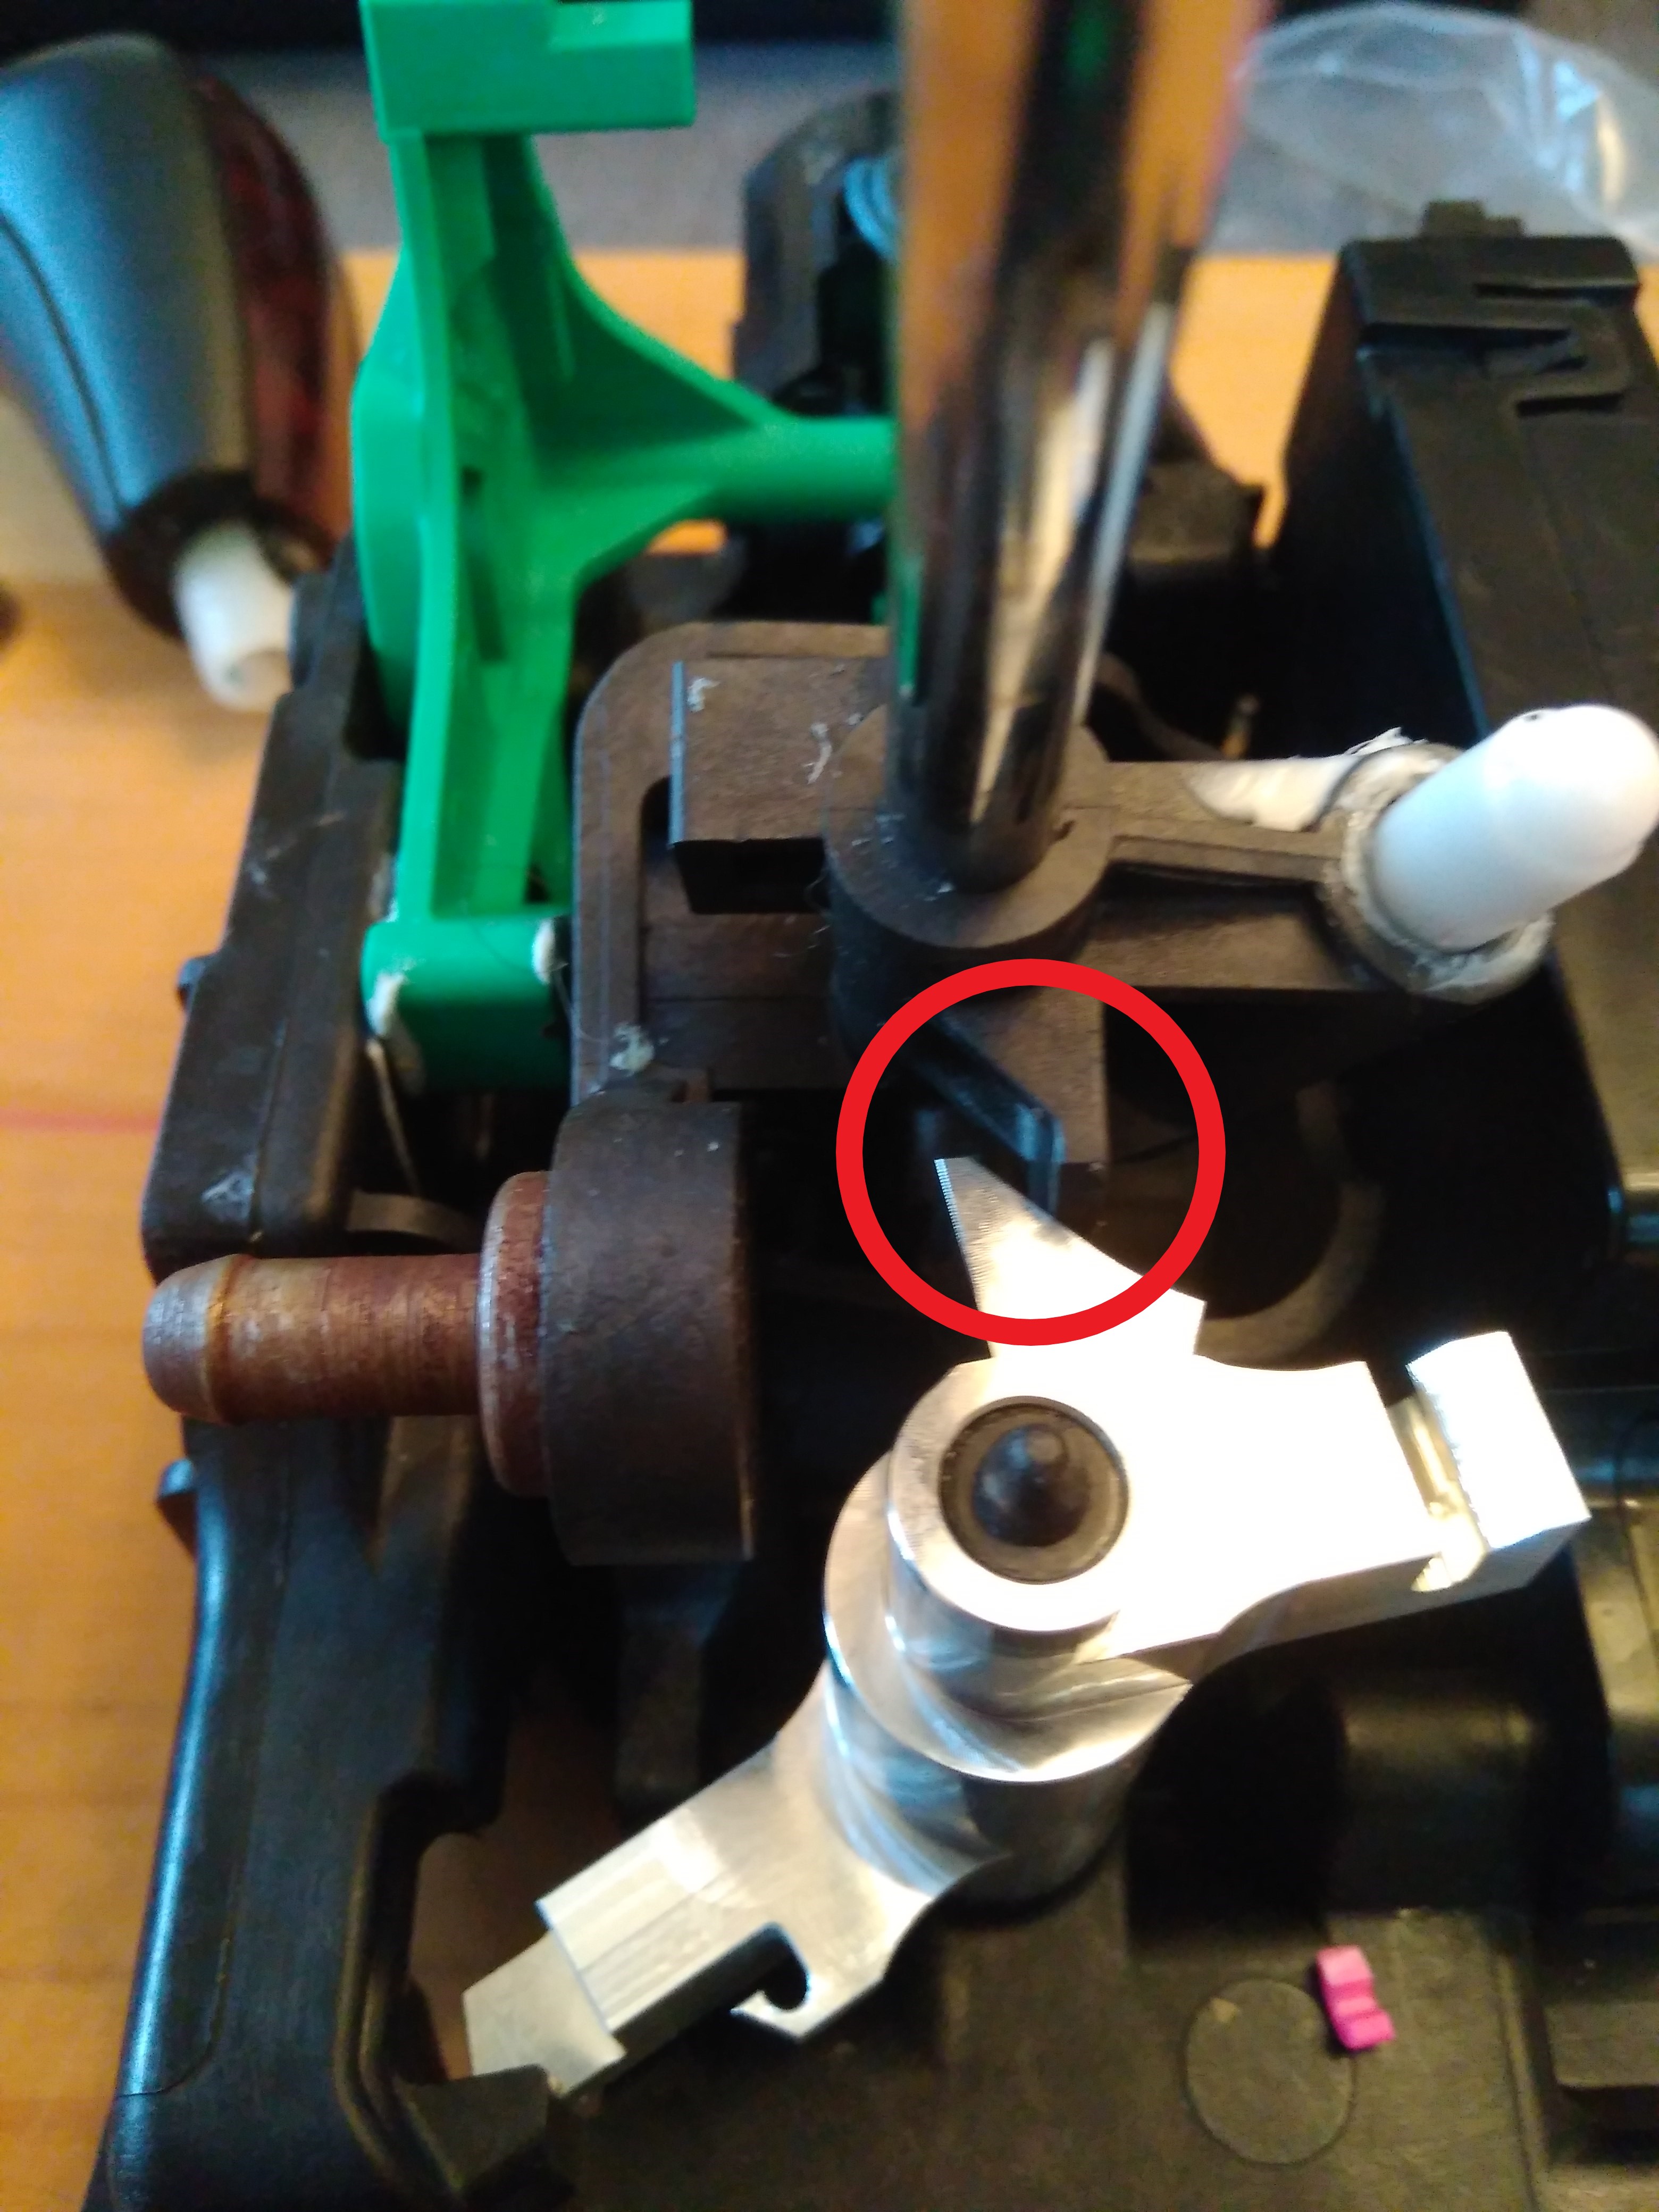
Fit the part, but BE CAREFUL !
The image here is the wrong way to fit it!
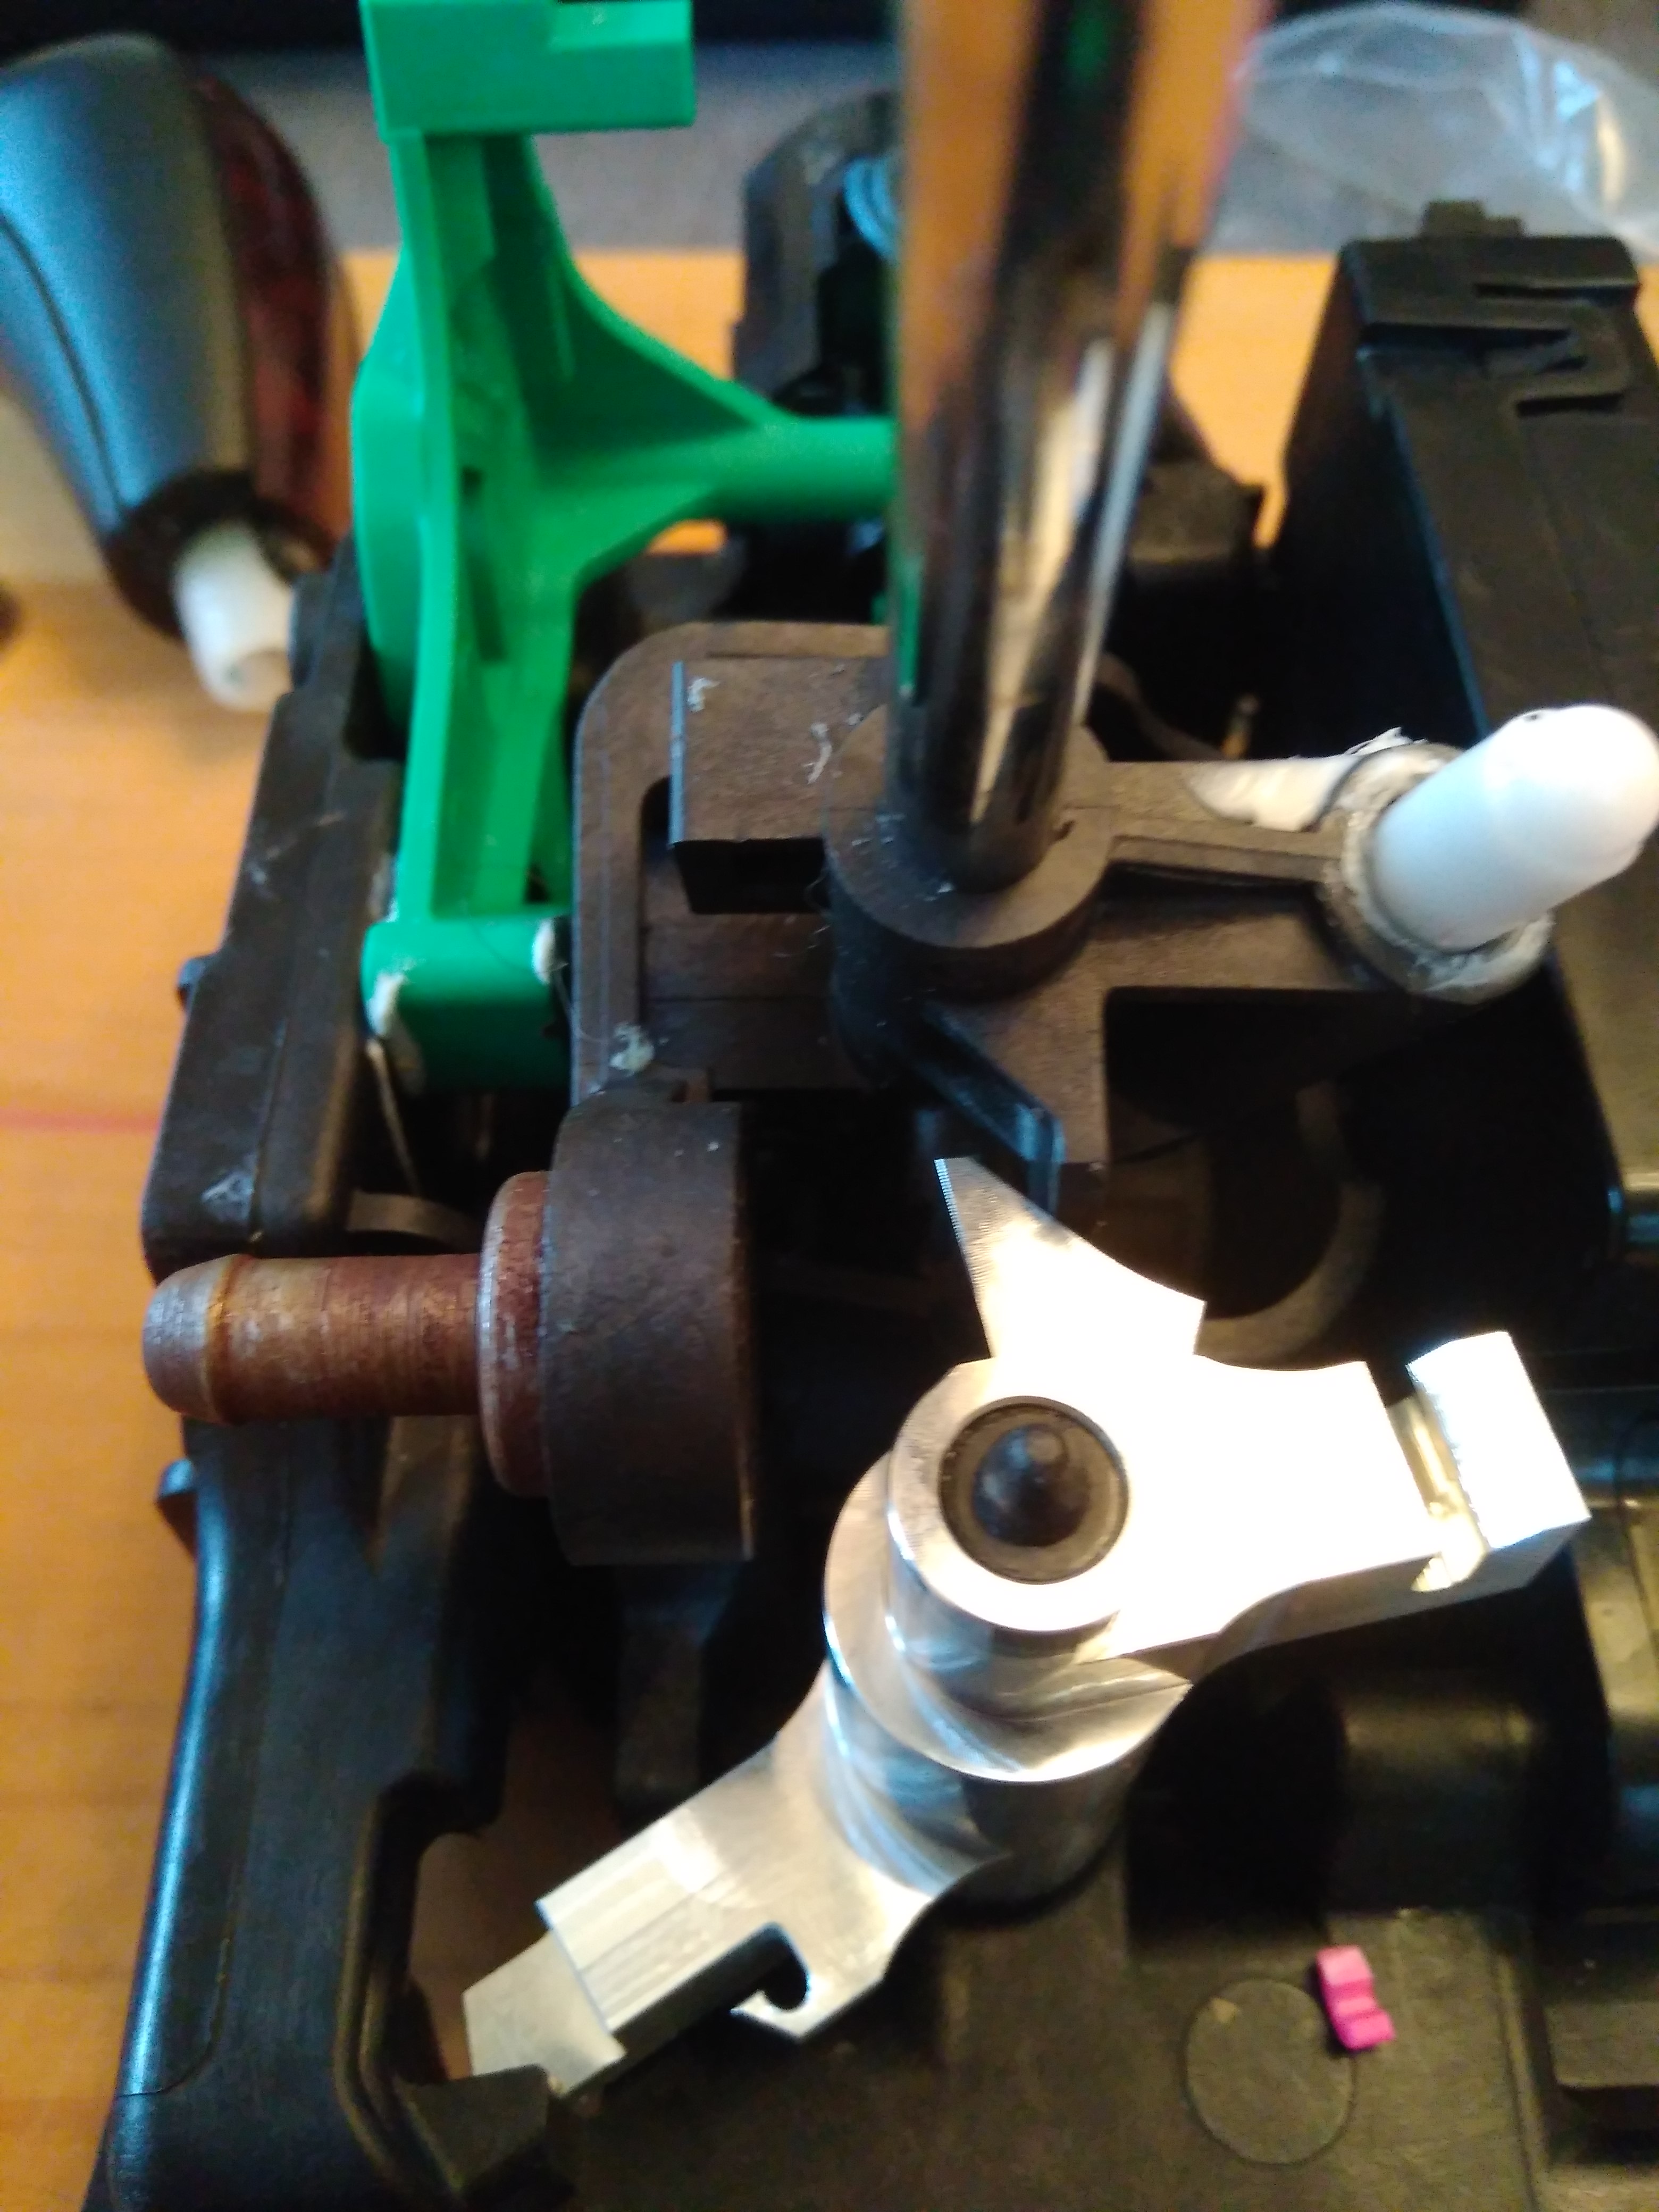
This is how the replacement part needs to be fitted.
THE ALUMINIUM BIT NEEDS TO BE TO THE RIGHT OF THE BLACK NOTCH!
HOWEVER (no one explains this):
To achieve this, push the green lever away from you which will then allow you to pull the gear lever to the left. At the same time you can then lower the replacement part into the pin.
The new part should now slot into place.
After you have done this you can attach the spring.
Put everything back together, as in the picture.
Do NOT fit the PRND display!
I would now strongly suggest you tape the cup holder and ashtray shut. AND, with some sellotape tape the cable and rod out of the way.
Then proceed to connect the unit to the two wiring harnesses and lower into position.
Tip: use a small bit of sellotape to hold the nut in the socket spanner.
You don't want it to fall into the gap (especially if you don't have a telescopic magnet)!
Re-fit everything in reverse order and you should be done!
Now, I am left with the following problem...
The key gets sometimes stuck in the ignition. This is because the gear lever does not always go back over to the left all the way (compare the two images). Pushing it over to the left then releases the key.
This does not happen all the time. I haven't figured out why, or what causes it.
It could be any of the following:
- The spring that comes with the replacement part is either too strong or too weak
- The replacement part is ever so slightly different
- The cable length has slightly changed
- The metal rod position has slightly changed
I don't know the answer and I am certainly not going to open everything up again.
And, in any case, what would I change to make sure I corrected the problem?
If you know the answer, please contact me at me@chrysler.feichter.co.uk !
UPDATE: November 2020
Here I am attempting to explain how the whole gear shift assembly works. Not sure if my assumptions are correct. Please email me if you find any discrepancies.
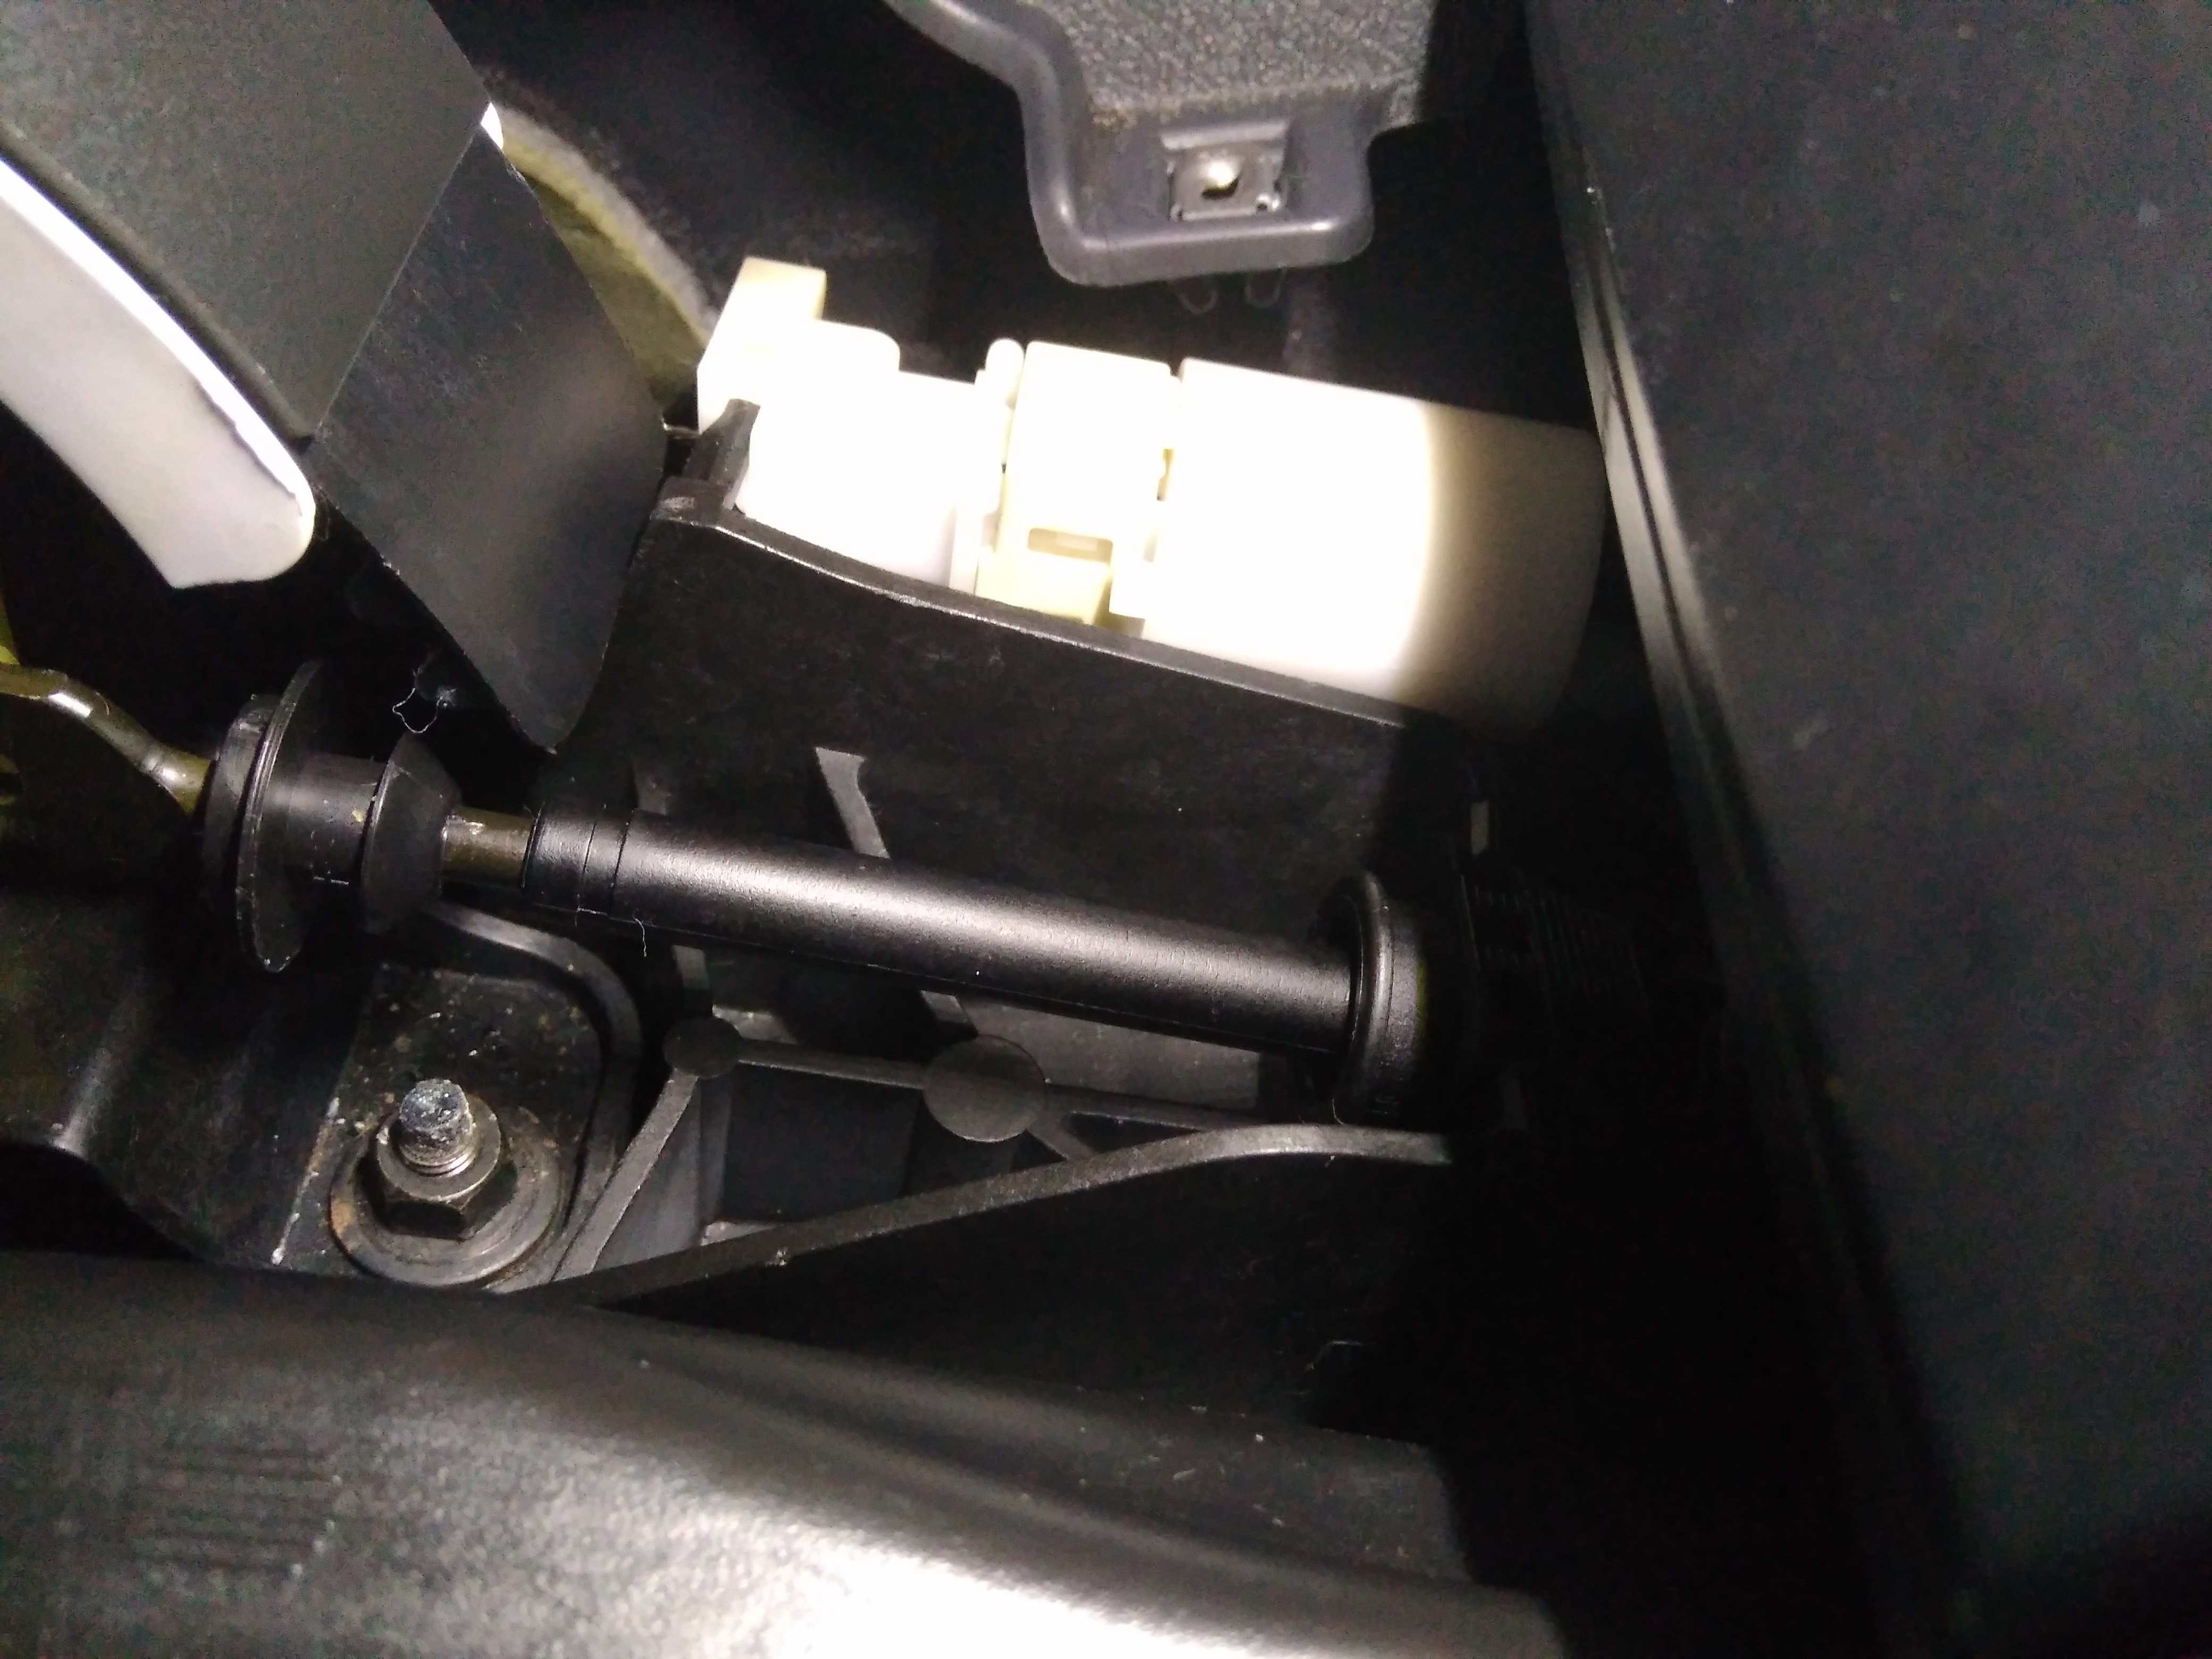
There is a solenoid at the back of the unit (not in the picture), and a cable and rod at the front (in picture).
I believe the solenoid is actuated when you press the brake (with the ignition on).
This lowers (or raises, can’t remember) the green lever (see picture), which allows the gear lever to move out of park. BUT, this can only happen if the cable has moved. The cable moves when the ignition is turned on.
The cable I am talking about is at the end of the white adjusting mechanism in the picture.
In the foreground of the picture you can see a rod. I call it a rod because that is what it resembles.
However, and this is where the confusion starts, the service manual calls this also a cable! I presume they call it a cable, because at the end of the rod is indeed a cable that moves the gears in the gearbox.
Have a look at the service manual here and here.
Download the pdf here.
If the cable and the rod are not properly adjusted, then you will experience the problem I have. My gear lever does not always go back completely to the left when going into park. Which means I can not get the key out of the ignition. A very slight tap to the left allows for removal of the key.
Nowhere can I find any information on how to adjust the tension between the two cables ONCE THE UNIT has been installed.
THIS is my understanding on how to adjust the tension between the cable and the rod and therefore, this is what I would suggest:
First raise the adjusting tab on the cable.
Look closely at the two images.
In one of them, the tab is ever so slightly raised.
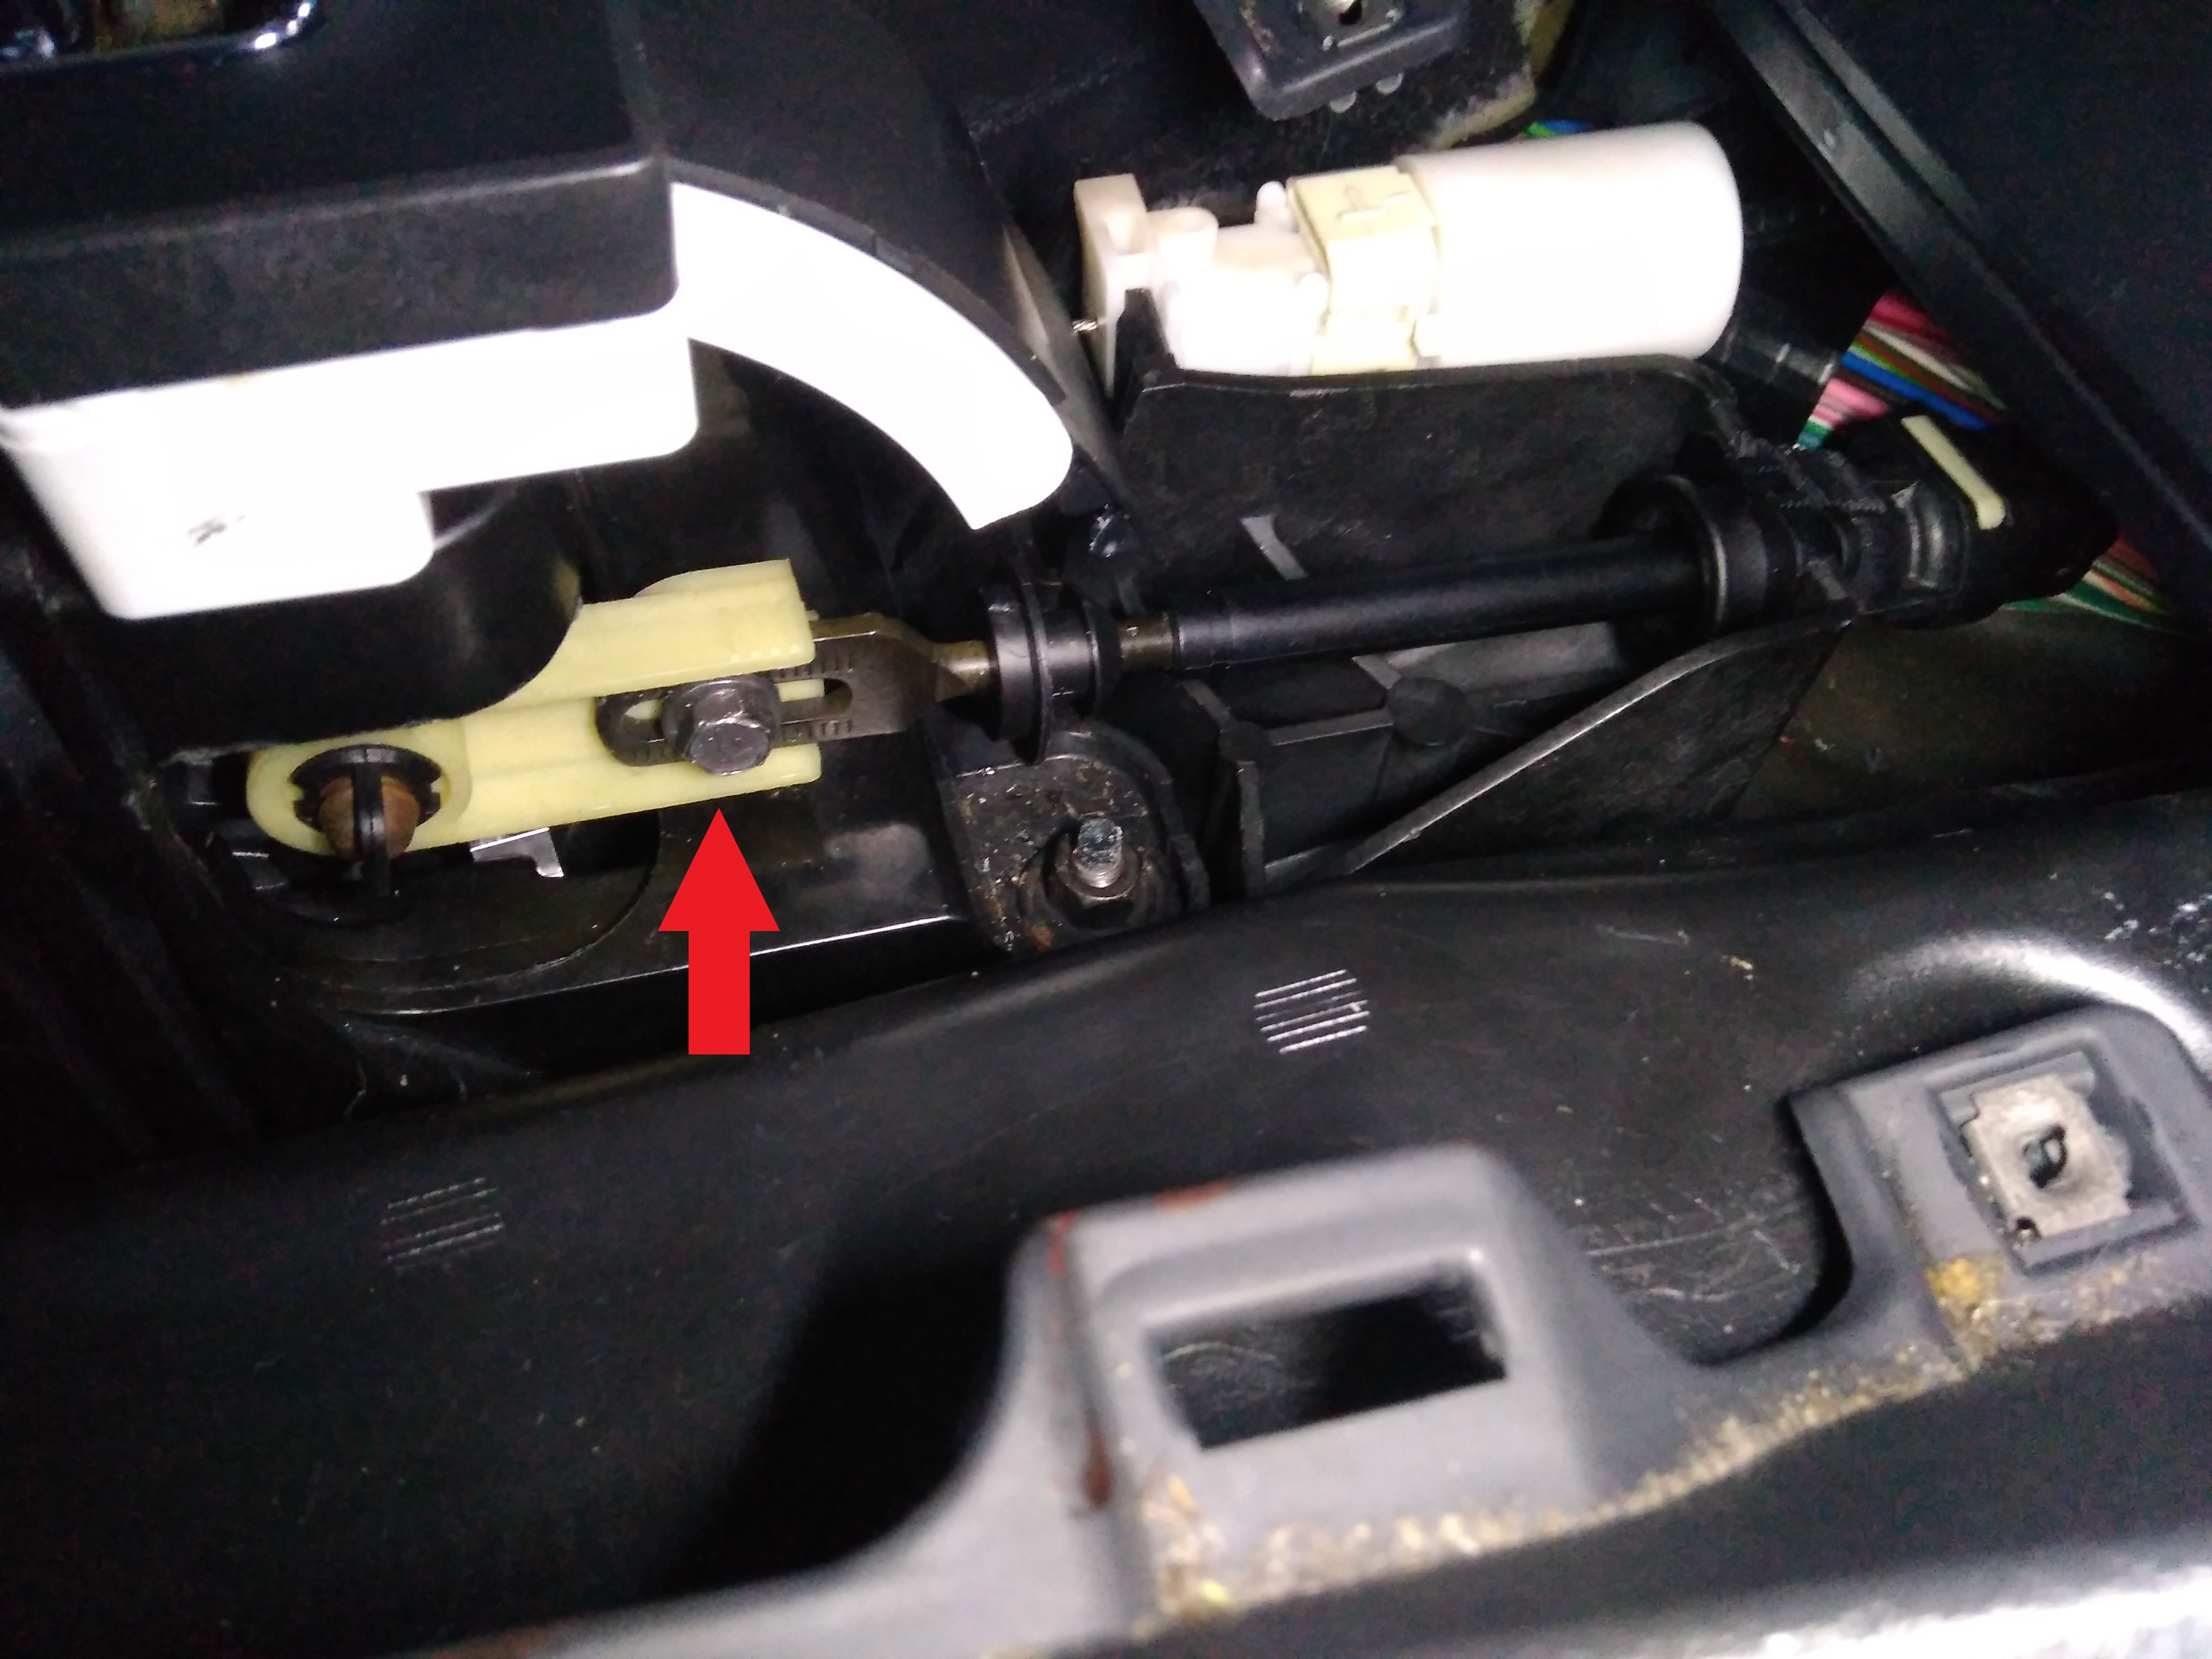
Then loosen the bolt at the end of the rod (see picture).
Now, turn the key in the ignition, BUT do not turn the ignition on!
The cable and the rod should now self-adjust, i.e. the tension between the two even itself out.
Once this is done, tighten the bolt and push the tab down on the white adjusting thing.